Our kitchen is the one that came with the house when we bought it in 2004. The previous owners had installed it about three or four years prior to us moving in so it’s about twenty years old.
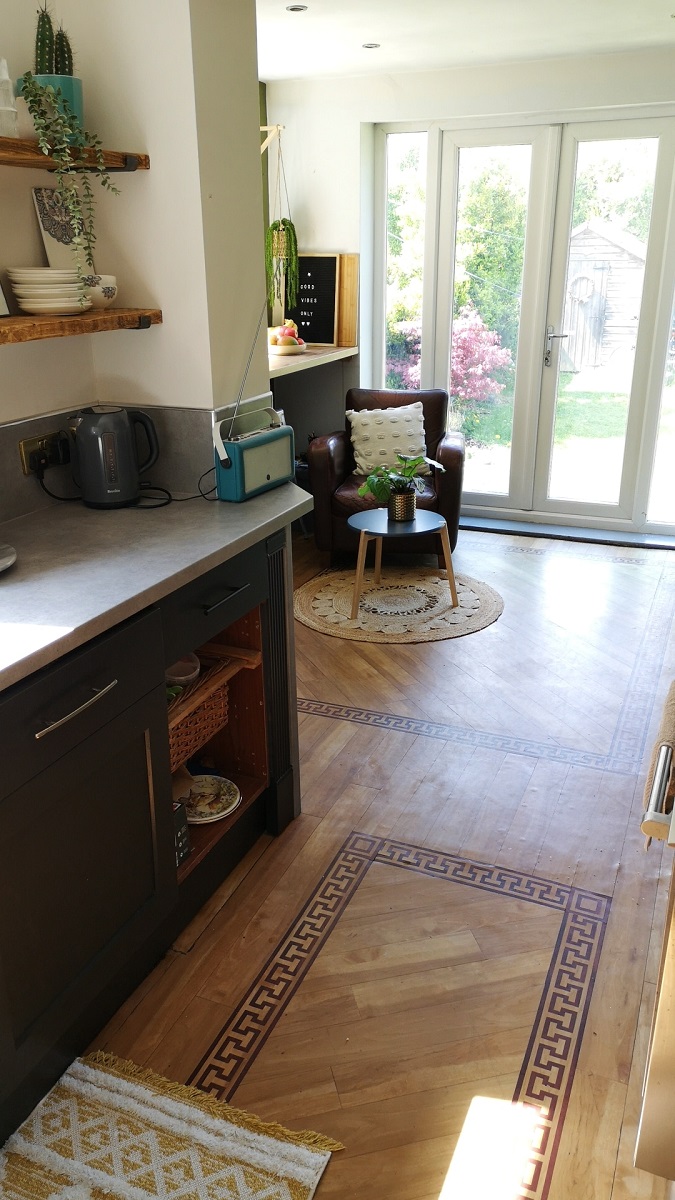
Fortunately, it’s a shaker style kitchen which is pretty timeless, so I don’t feel it has dated horribly over time. (In fact, that’s something to consider if you are planning to get a new kitchen and wondering what style to go for.)
A brand new kitchen might cost anything between £10K and £25K+ depending on whether you go for an off the shelf or bespoke design. We budgeted about £1,500 for the materials and hiring a professional to fit the worktop, do a few cabinet repairs, plumb in the sink and also an electrician to change the switches and sockets.
We haven’t upgraded the floor as yet, but would like to do that next – again we inherited the floor which was installed along with the kitchen. It is a Karndean floor and I have to say, it is such an incredibly hard wearing vinyl! Still not that shabby, I am just ready for a change and would like to go for a herringbone style laminate to give a more contemporary look.
Updating the kitchen cabinets
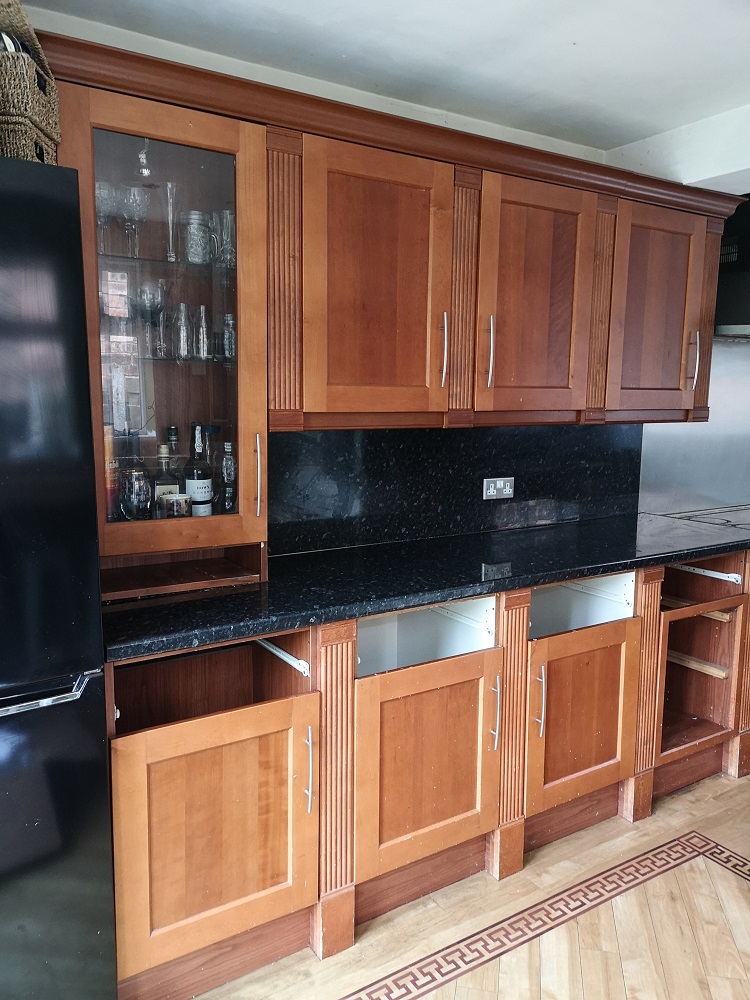
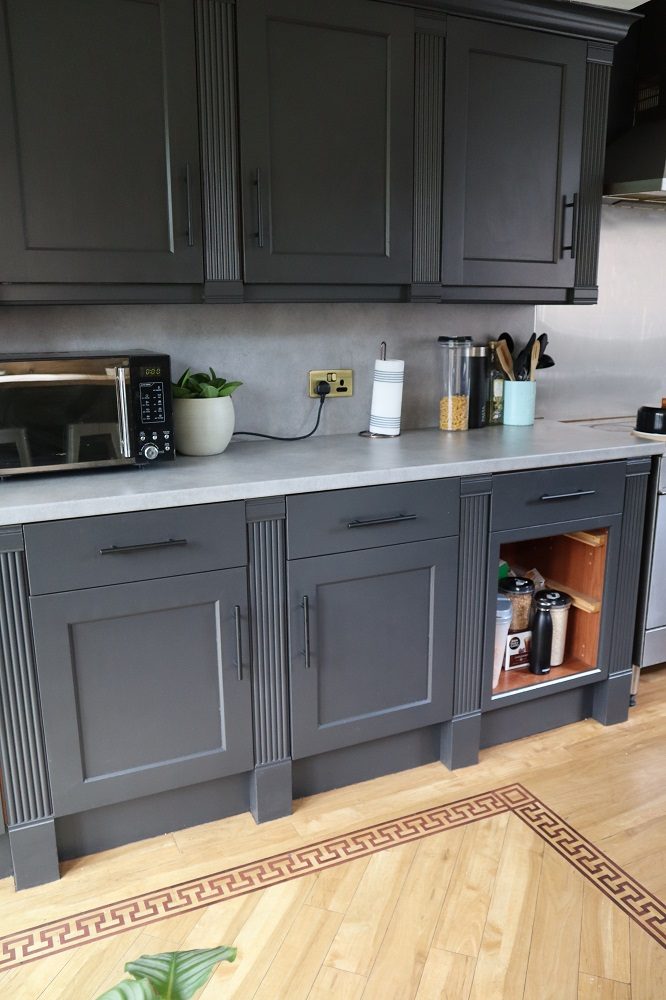
You have three options really for a new look kitchen – replace your cabinets fully, replace just the doors if the units are sound, or makeover the doors with paint, or vinyl, for example.
Apart from a few repairs needed, our cabinets weren’t in a bad state. The only cupboard we had to replace was the undersink carcass, which had been water damaged and was in poor condition, so that was changed for a better quality, sturdy new base unit (which the kitchen fitter adapted from a unit he already had, so he only charged £50 for that).
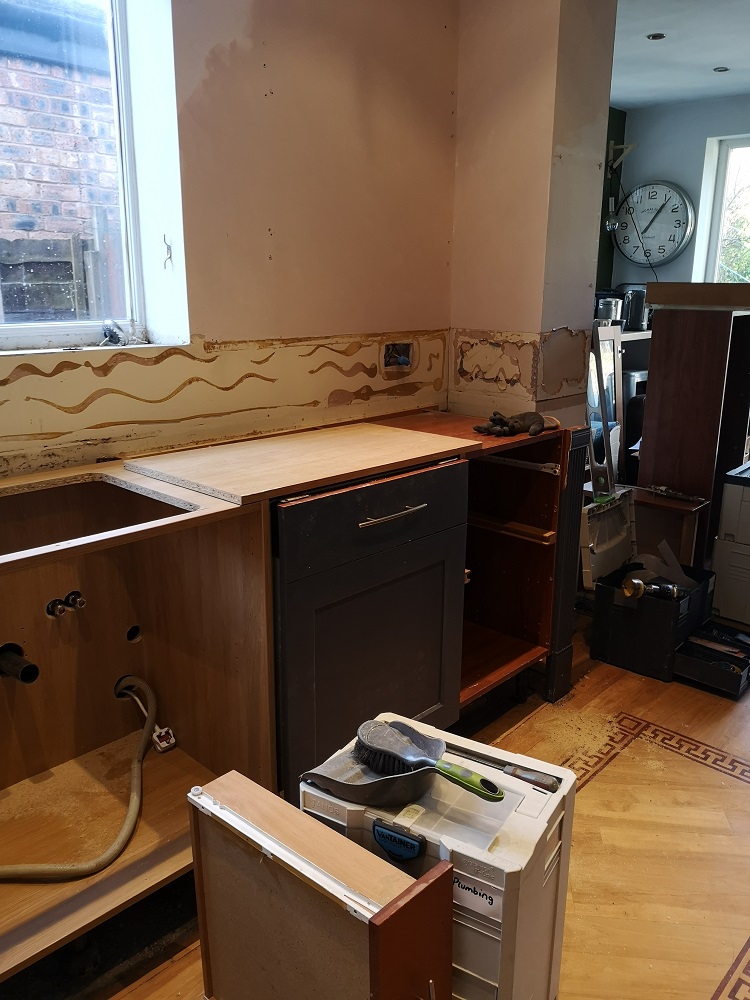
Most of the drawers were falling apart too, so we replaced all of them with metal drawers (£30 each) and simply fixed on the existing drawer fronts. You can have soft close drawers of course, but they are more expensive and these do the job just fine.
New handles are a great way to obtain a new look. If you measure the distance between the drawer holes, you can usually order replacements with the same distance between the fixings, so it’s a doddle swapping them over. If you are going from a handle to a knob, though, you will have to use some wood filler to fill the holes and drill a new central hole. Not a big deal, just takes a little longer.
The paint we used
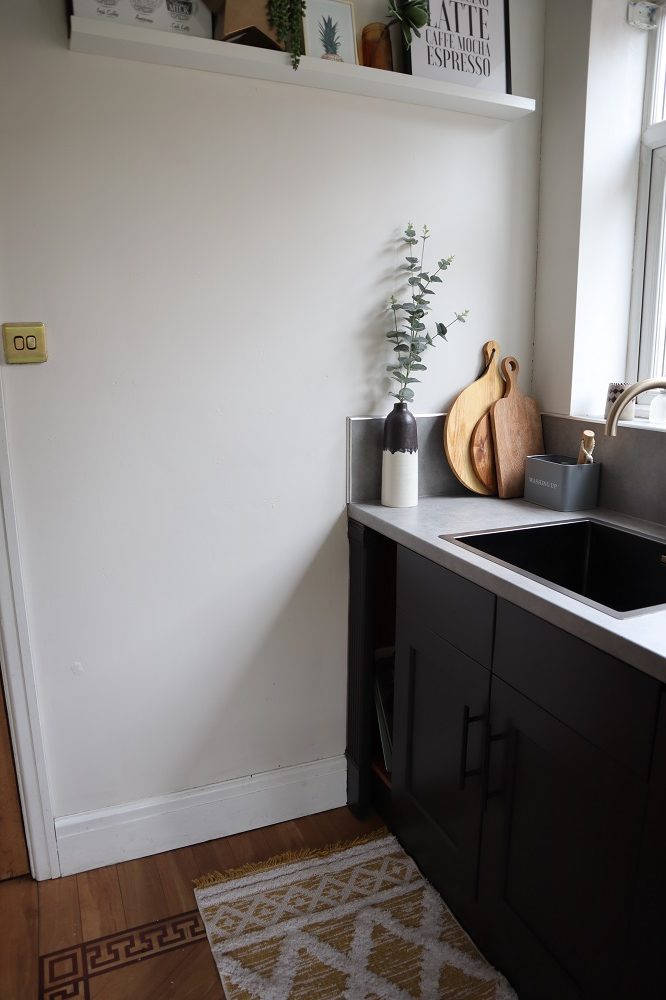
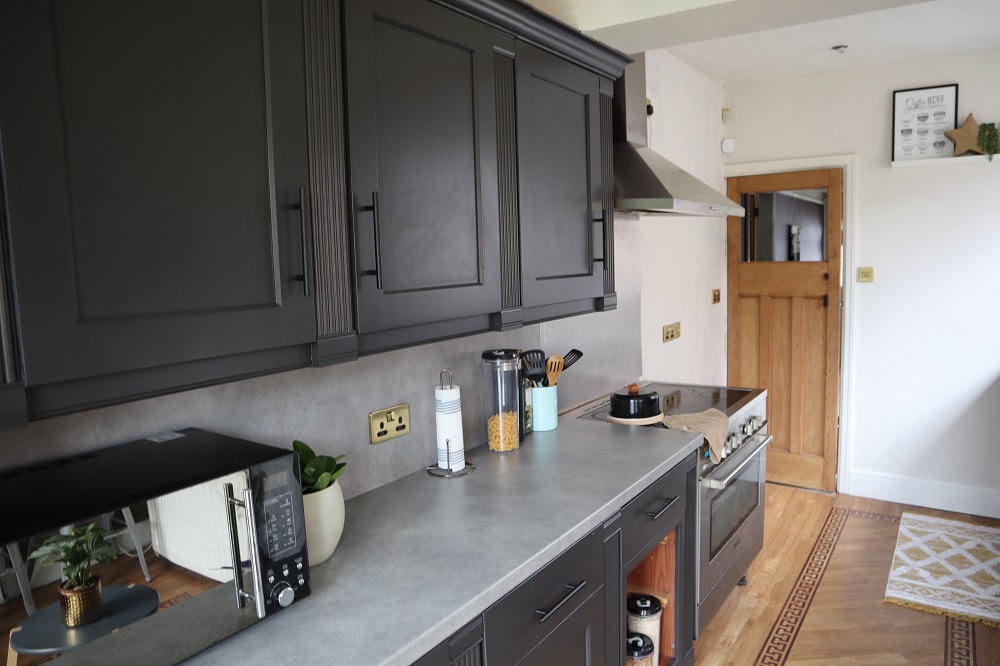
I partnered with Valspar on this project and they provided the paint we needed. Valspar is mixed and sold in many B&Q stores. I’ve used Valspar before and really like it. I opted for the Premium Walls and Ceiling Interior Matt finish which is scrubbable – essential for a kitchen in my opinion. I wanted a shade that’s not too white and bright, but nor too buttery or magnolia. Valspar suggested Navy Bean and it is so perfect. It is literally like milk on our walls.
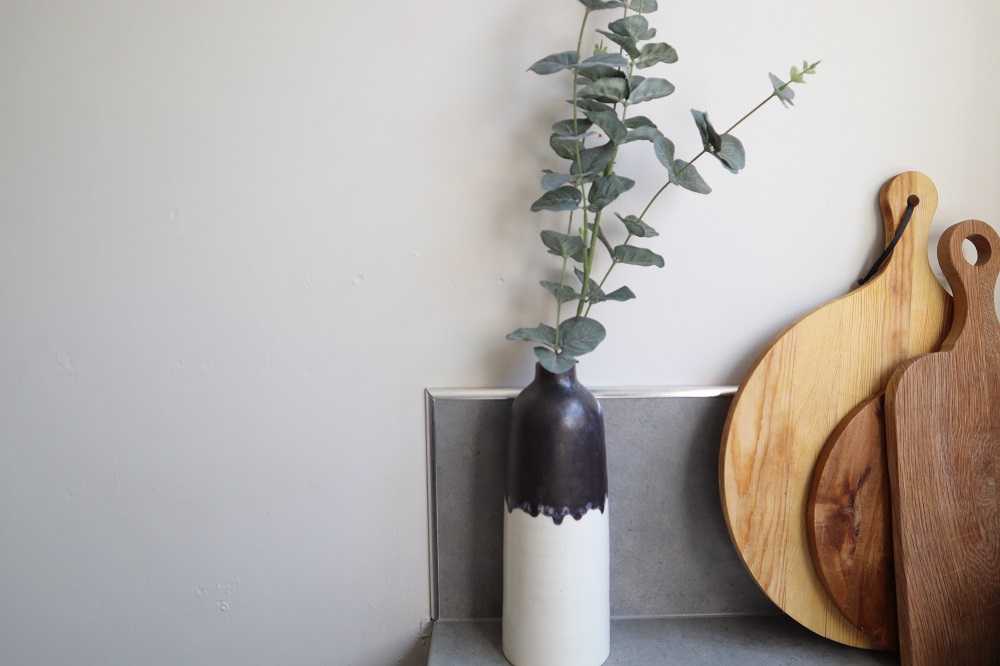
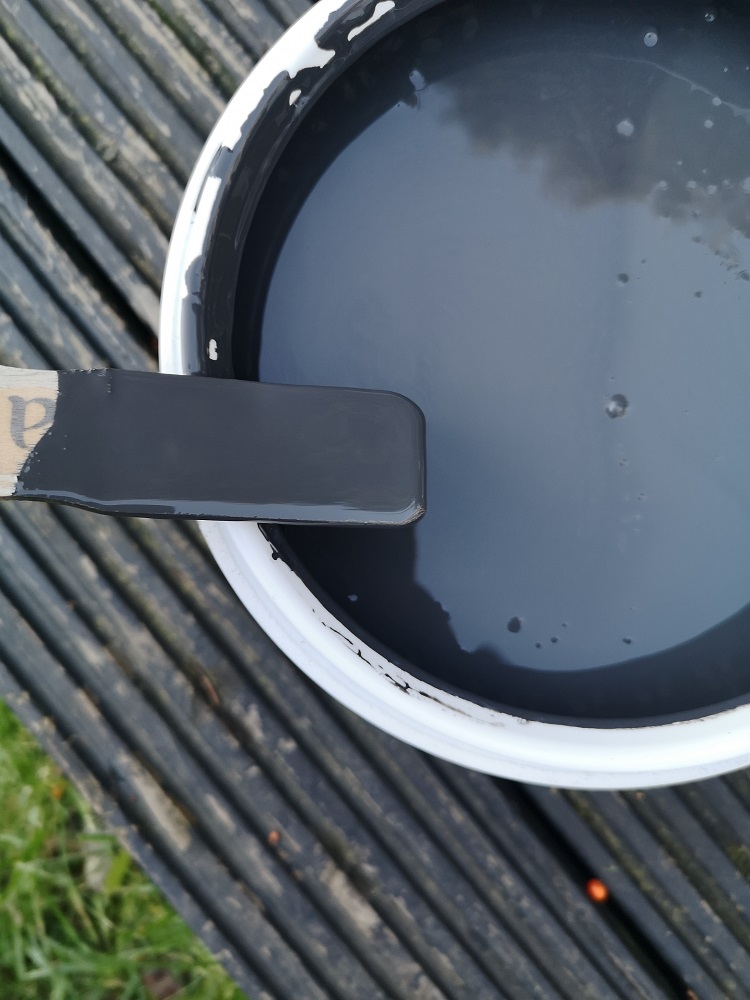
The cabinets were first painted with Valspar multi purpose primer and undercoat, followed by their Interior wood & metal eggshell in a shade called Coal Tipple which is a great charcoal shade. It’s beautifully rich and dark.
Designer sink and tap from Olif
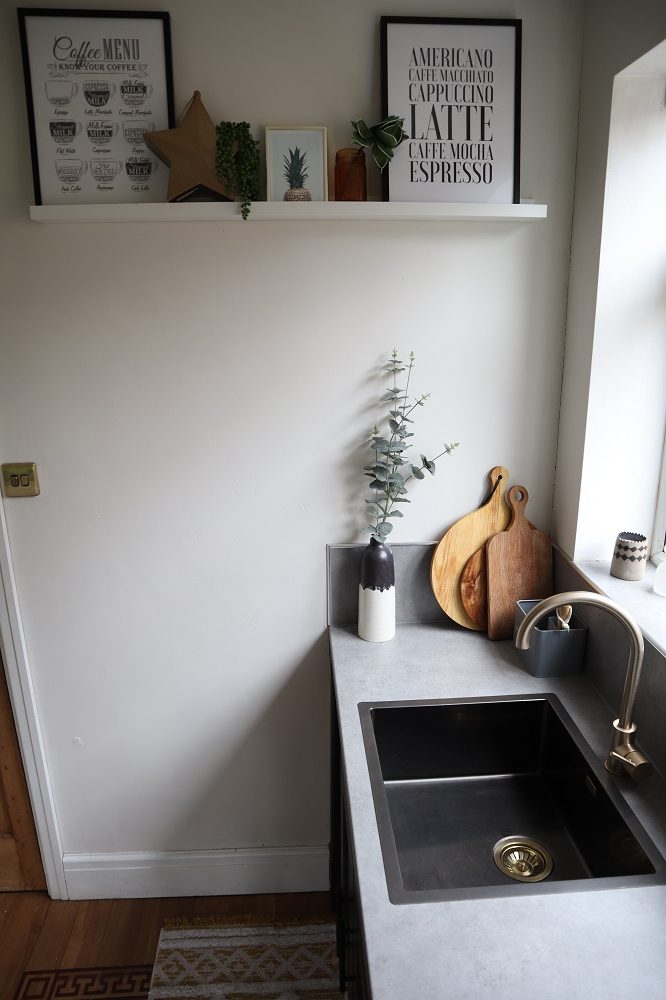
If you are saving thousands of pounds by keeping your existing kitchen, it can be worth splashing a bit of cash on something special. I think every kitchen makeover deserves an extra special feature, something that gives it an edge. This could be an amazing range cooker, a luxury coffee machine, a futuristic fridge or snazzy bar stools, for example. In our case, we went with a stunning sink and tap.
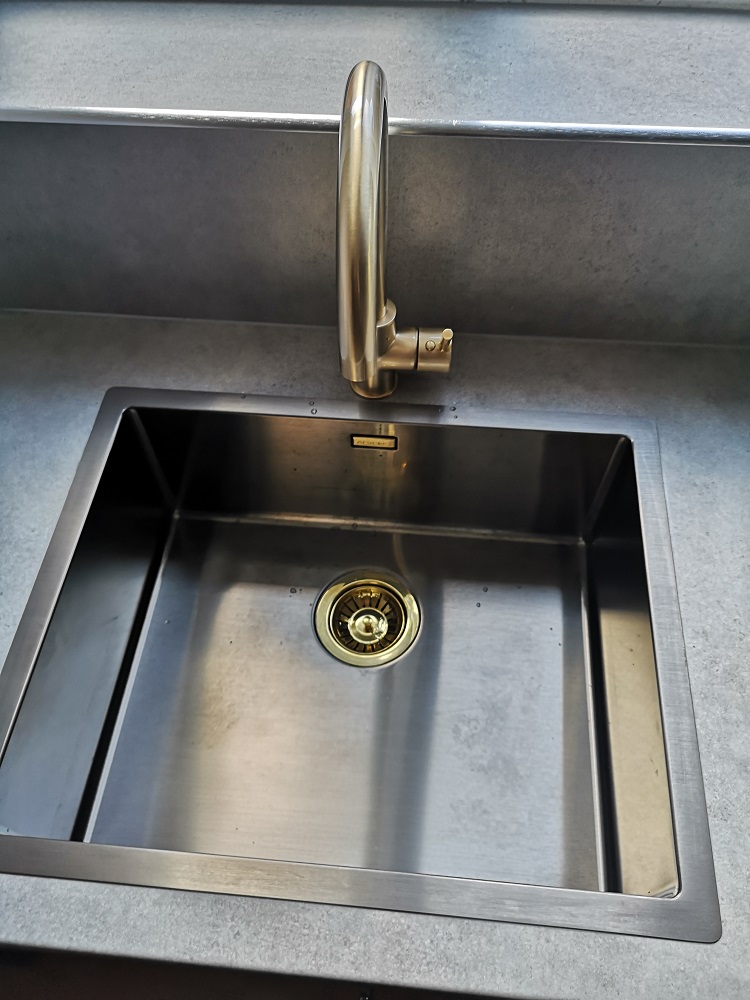
My other brand partner in this makeover was Olif, suppliers of trend-setting kitchen sinks and taps (as well as bathroom taps and accessories).

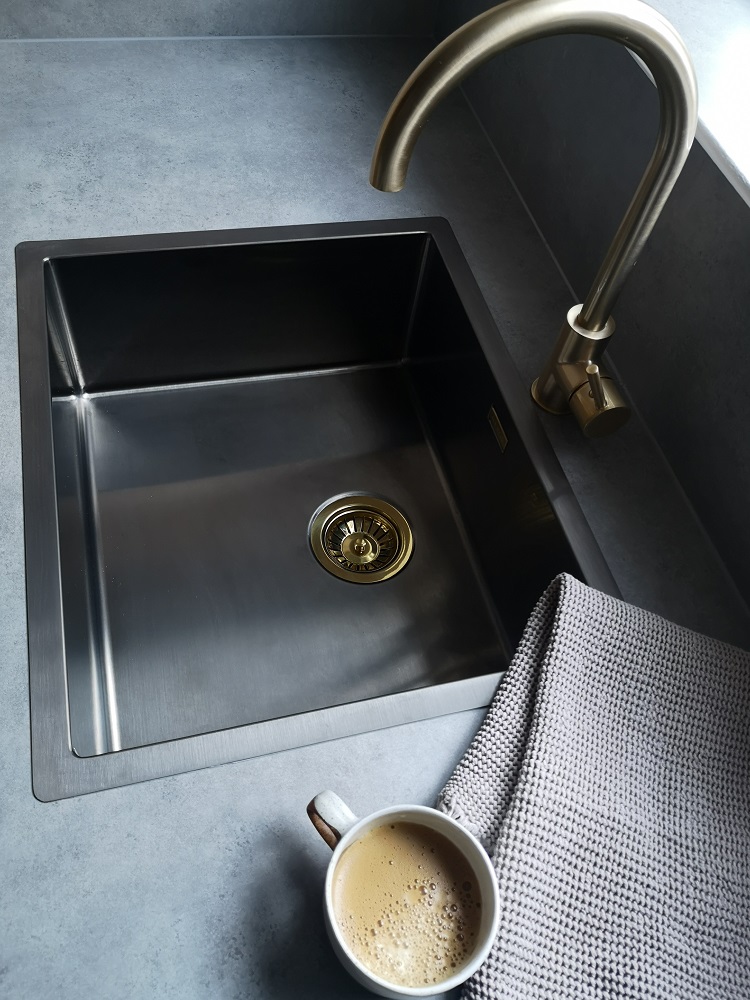
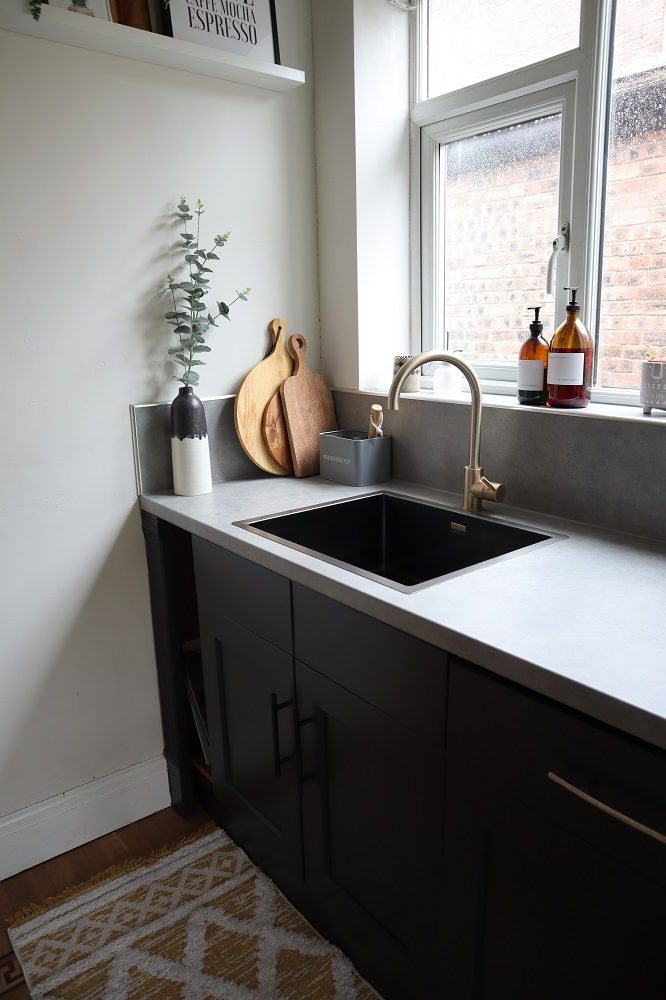
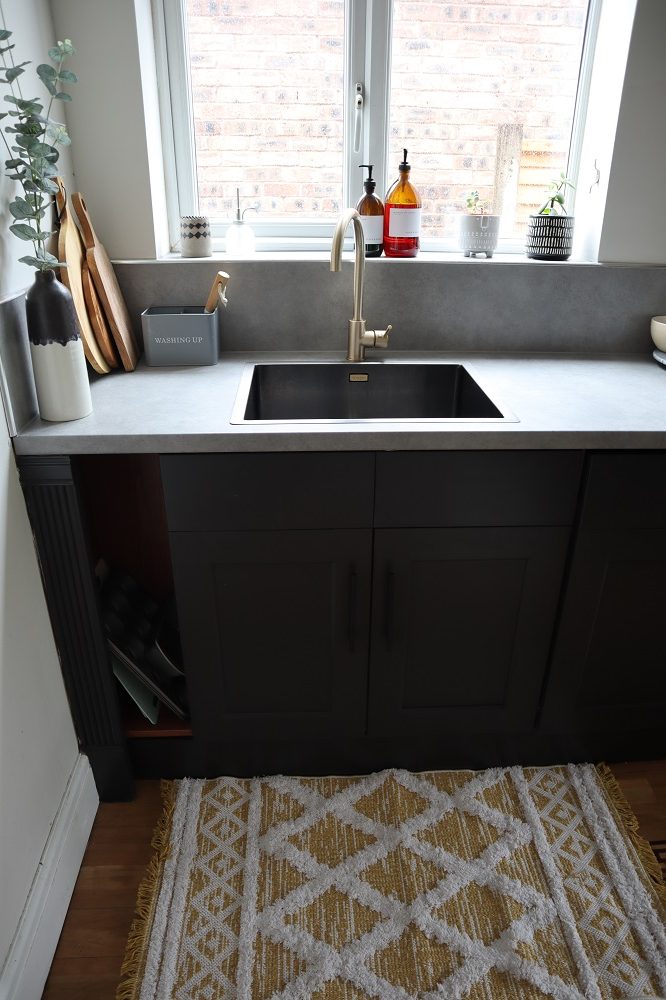
To feel like a brand new kitchen, our old sink and tap and draining board had to go and they don’t get better than those from Olif. They advised and provided me with the Monarch anthracite sink and Cascata Nova Pale Brass Tap. This mix and match metal combo is by far the standout features in our new look kitchen and together they have created an eye catching focal point.
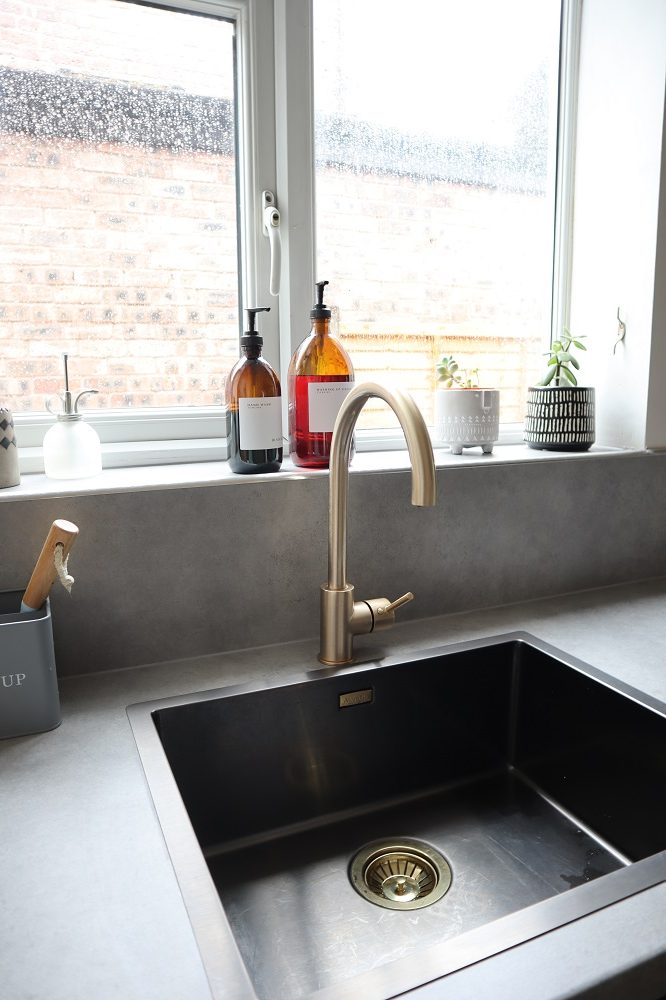
You’ll note we don’t have a draining board – this gives a much more contemporary look. We simply use a plastic dish drainer when needed. If you have a stone or quartz type worktop, you can have draining grooves cut into the surface, but this isn’t an option with a laminate worktop.

I adore not only the look and colour combo of the sink and tap, but the size and depth of the sink is wonderful – such a practical aspect which I’ve been missing without realising! Being able to plunge full size ovenware and large pans into the sink is such a bonus.
Electrical Sockets
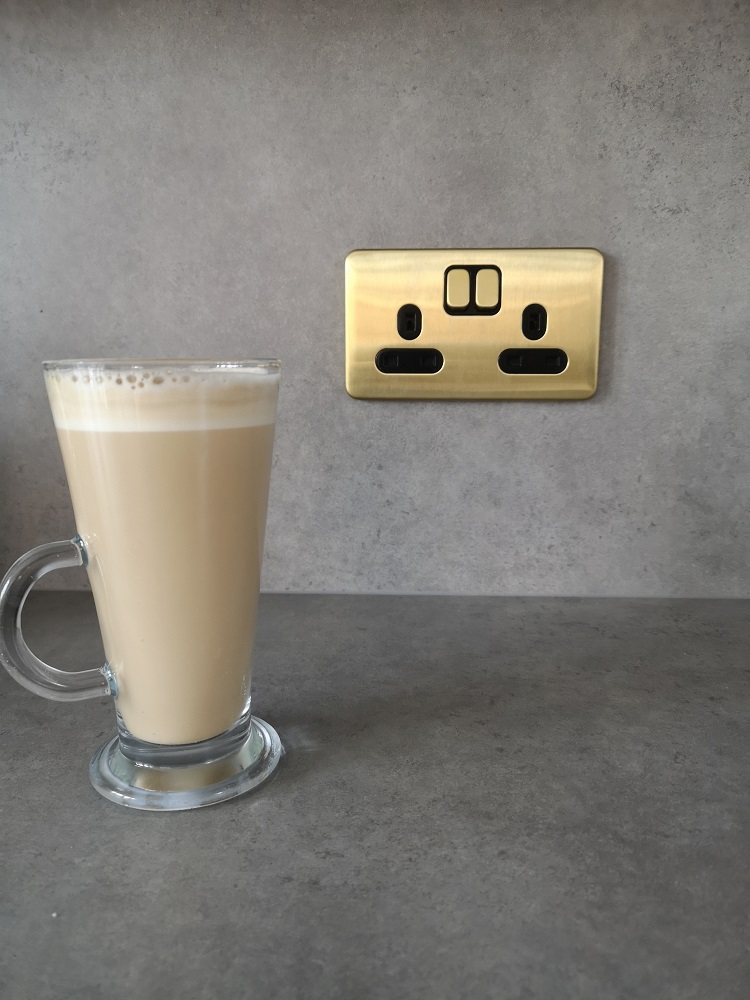
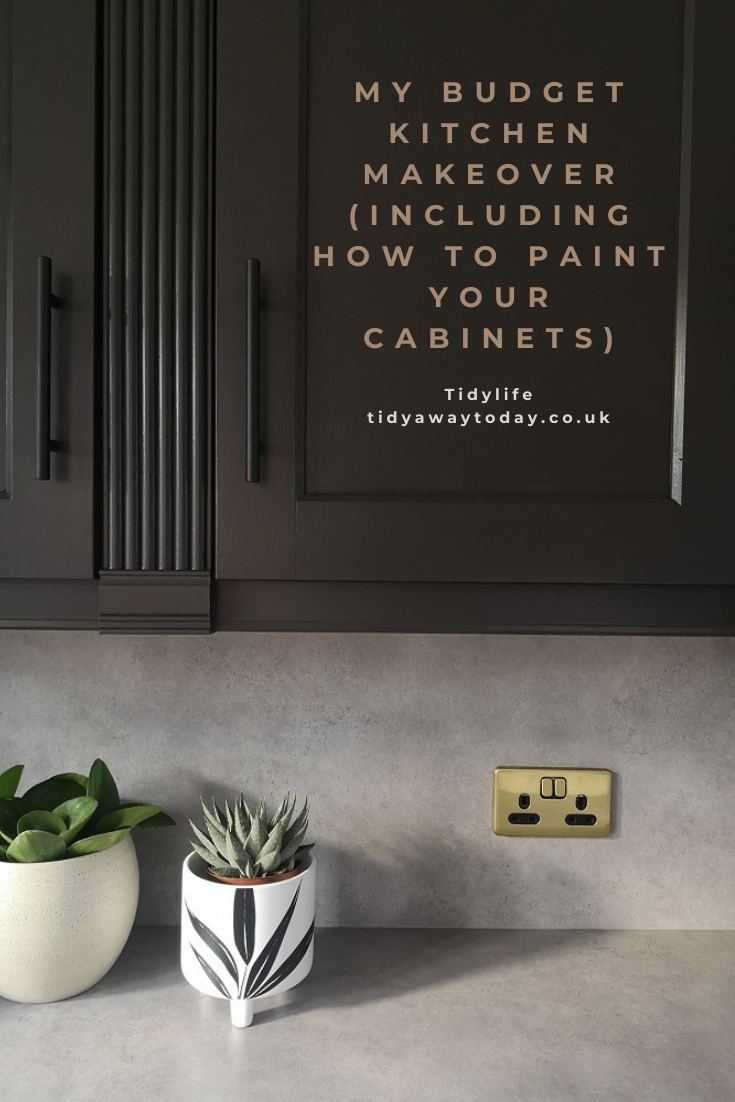
Another great way to glow up your kitchen is to swap the bland boring white plastic switches and plug sockets to fixtures with a more exclusive look. My third partner in this makeover project was Schneider Electric who helpfully advised and supplied the The Lisse Screwless Deco switches and sockets. In a satin brass finish, I think they add just enough glamour without being over the top. They also complement the brass tap and Monarch gold waste of our sink. These little details can make the biggest impact sometimes!
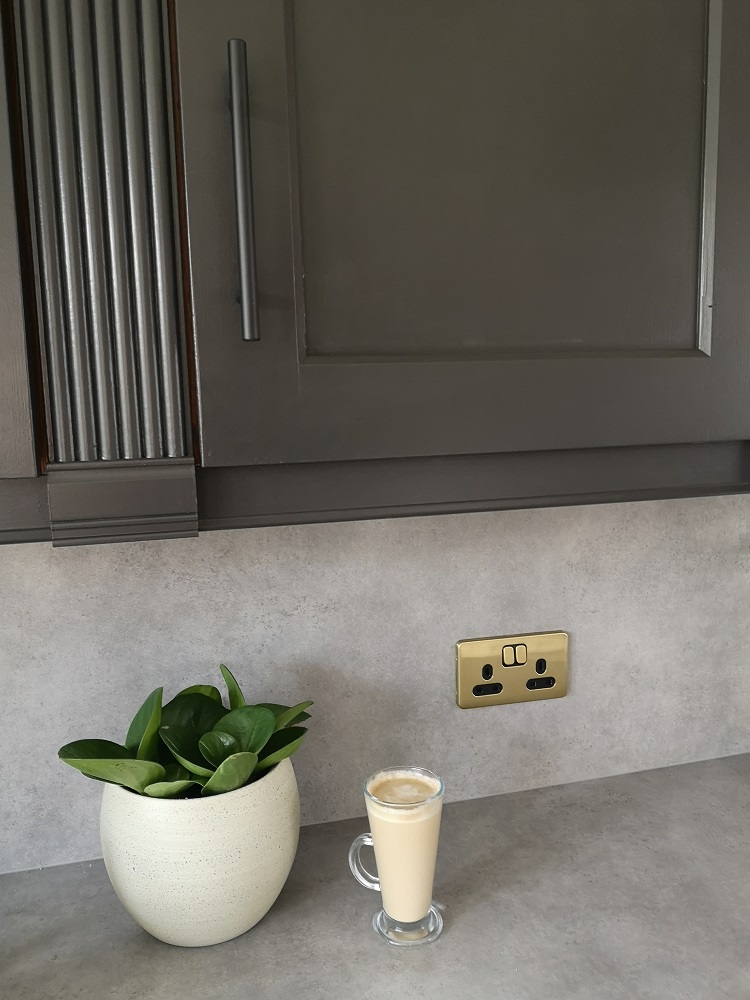
I love the fact the switch plates are screwless as they give a seamless look and my sons reckon the new switches feel nice and satisfying to press!
Worktops and splashback
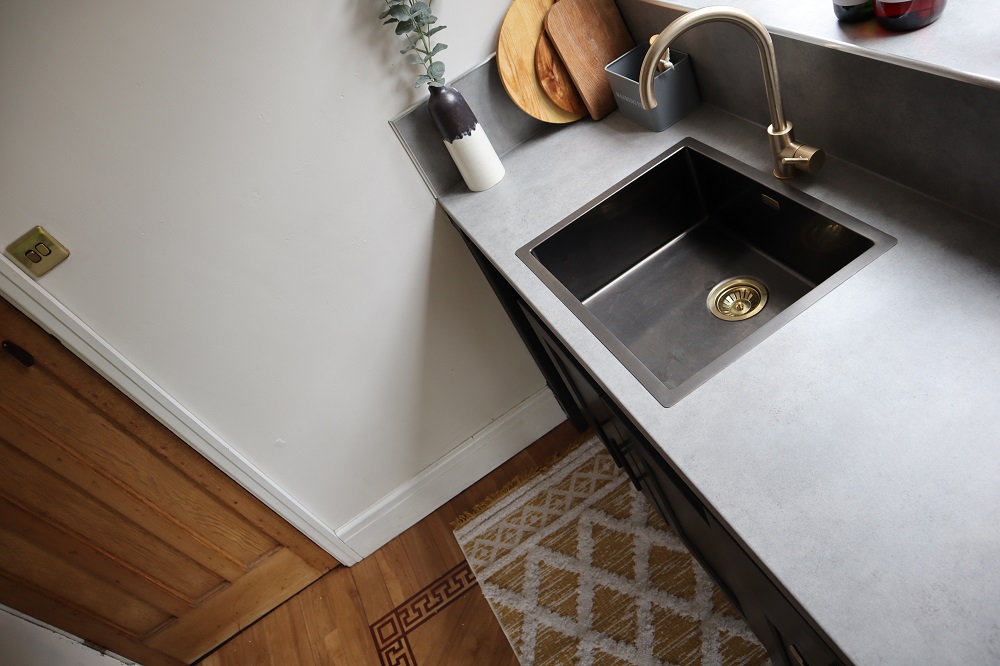
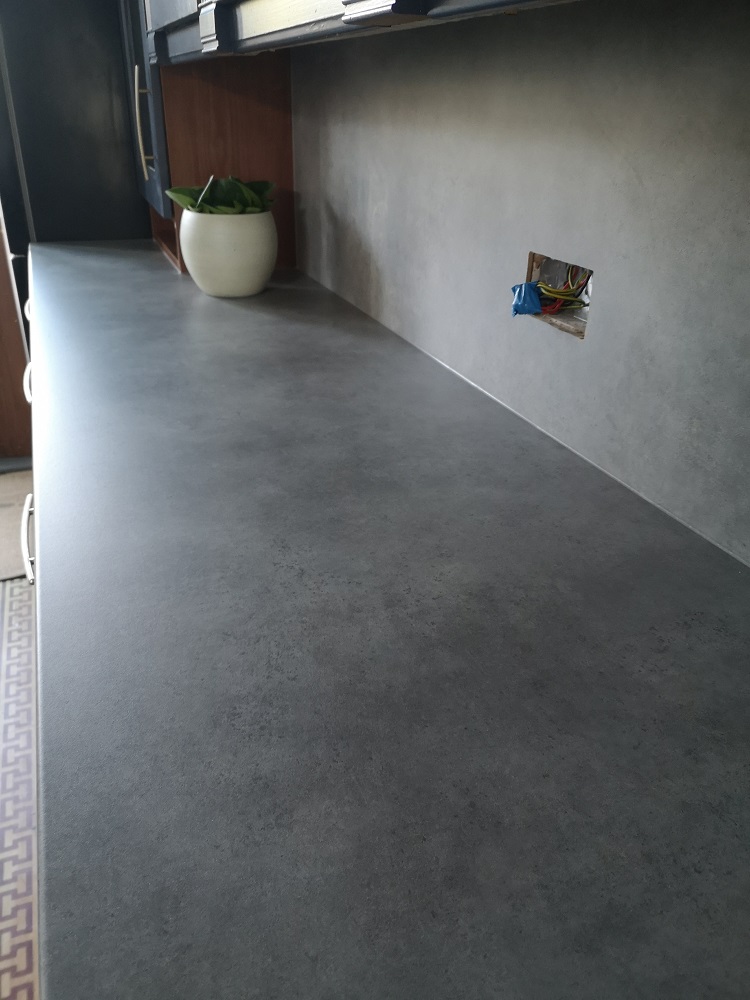
I covered some of the different worktop options you could choose in another post recently. To keep to a budget, I knew we’d be opting for laminate. It is good value, durable and easy to look after. There are so many styles of finish e.g. wood, marble, stone in an array of colours, but I chose ‘Brushed Concrete’ (by Formica) and am really pleased with the overall look. We needed two lengths and some matching splashback which cost around £750 before fitting.
Prep & painting of the cabinets
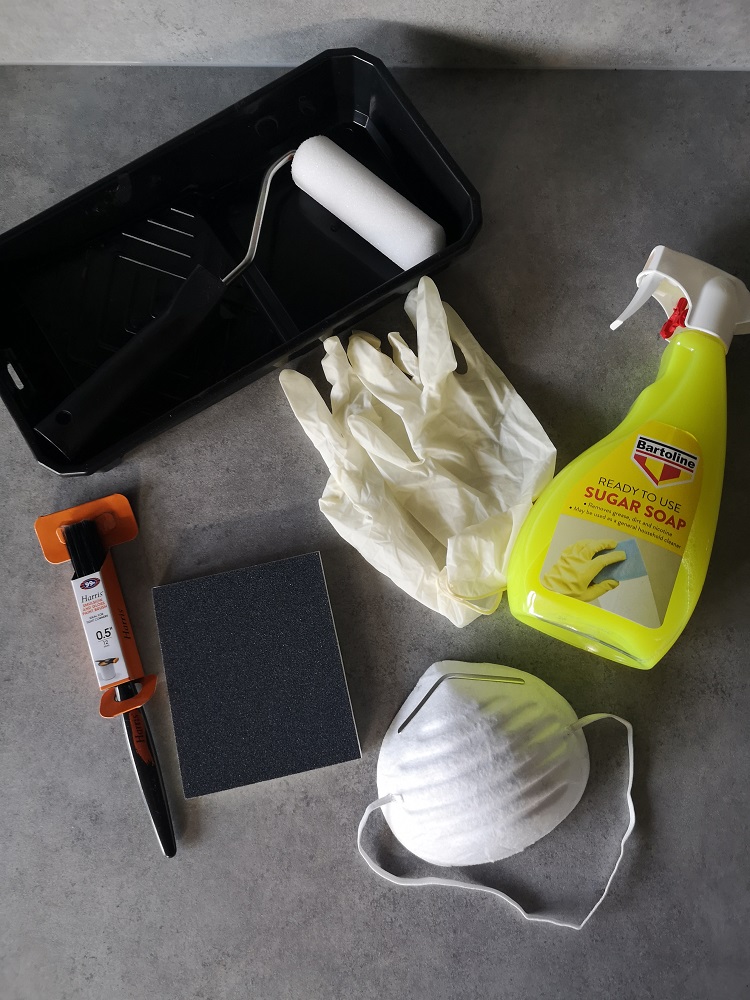
I opted not to remove the doors and didn’t find it too tricky to carry out the work in situ. Our kitchen cabinet fronts are wooden, so these are the steps you can take if you also have a wooden kitchen.
Step One
Remove handles.
Step Two
Wear a DIY face mask and sand the surfaces to give the paint a ‘key’ to stick to. I did this by hand with a sanding block. You don’t have to go crazy, just a light sand all over should suffice.
Step Three
Thoroughly clean/de-grease the doors – this removes the sanding dust and any stubborn grease marks. This step is so important as otherwise your paint won’t stick to the surface of the doors, it will just coat whatever is on top of the door, rather than the door itself! And will then obviously flake off.
I used ready mixed sugar soap solution in a spray bottle and a sponge with a scourer. Followed by rinsing with a damp sponge and leaving to dry.
Step Four
Now you can paint on the water based primer. I applied it with a brush and did two coats of primer, letting it dry in between.
Step Five
Now you can apply your paint colour. Use a small good quality brush to do intricate bits, edges and corners, then a small sponge roller in a mini paint roller tray for a smooth finish.
I did two coats, three on the doors to be on the safe side! I’ve not sealed with a varnish, I don’t think you should need to with an eggshell paint as long as you are careful and wipe any spills etc. I was worried that even a matt varnish might affect the colour slightly.
I also chose not to paint the interior of the dresser unit or where we have (or had) basket drawers – you could if you wanted to.
Finally you can replace the handles. Once they are on, the cupboards are almost as good as new! I bought our replacement handles through Amazon and they were great value, approx £15 for 10.
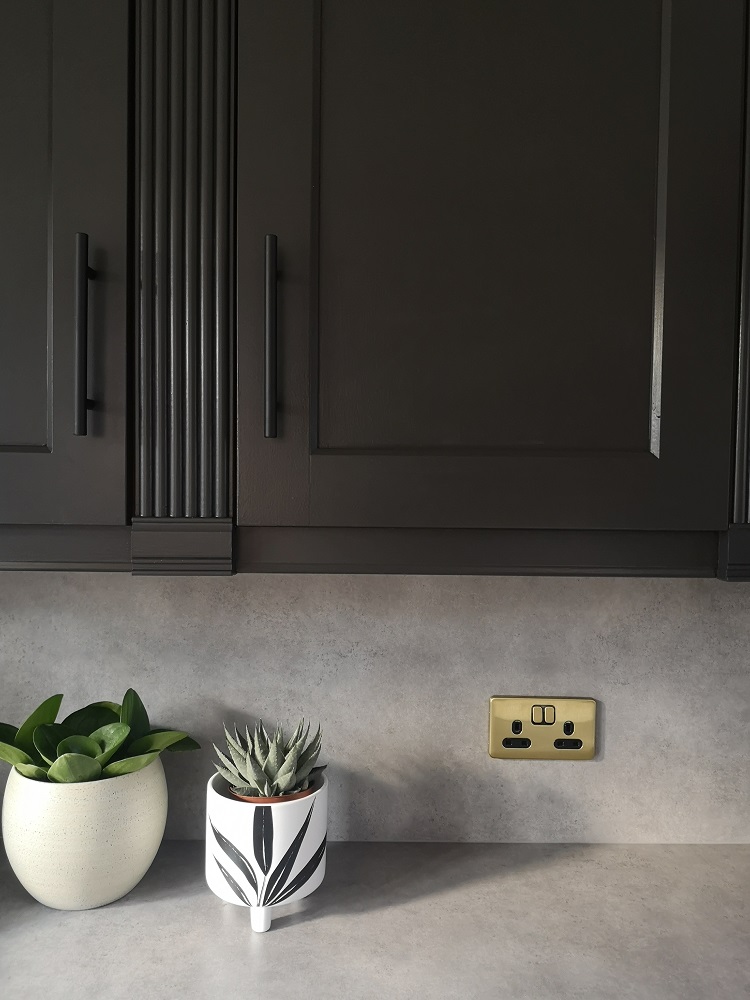
We haven’t changed the handle on the integrated dishwasher yet because it means unscrewing the panel behind the door where the electrics are – I think we’ll leave it to the electrician the next time he comes just to be on the safe side.
Other Features/Finishing touches
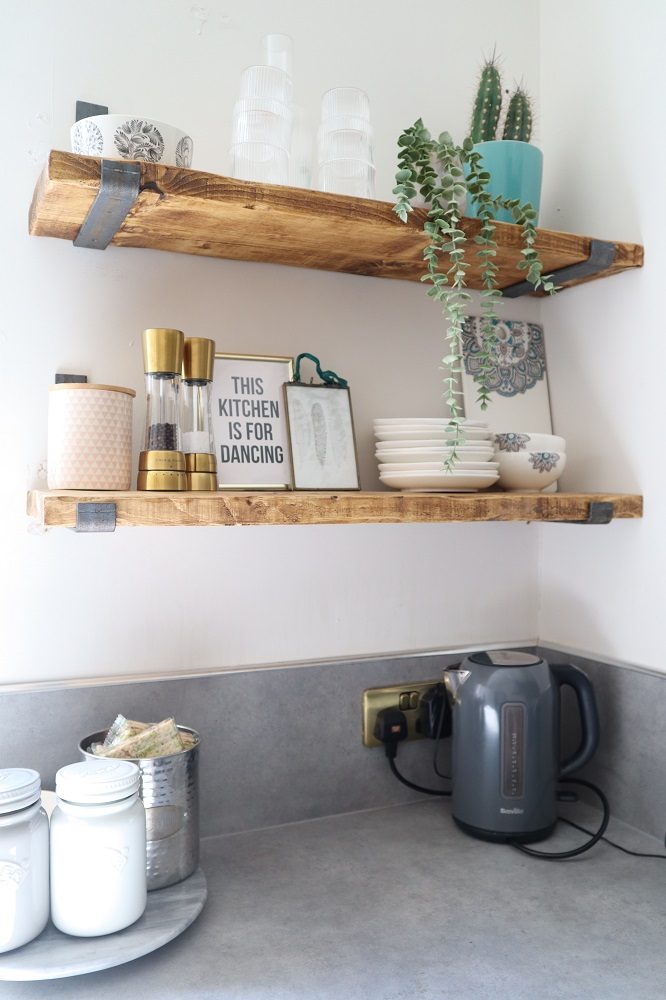
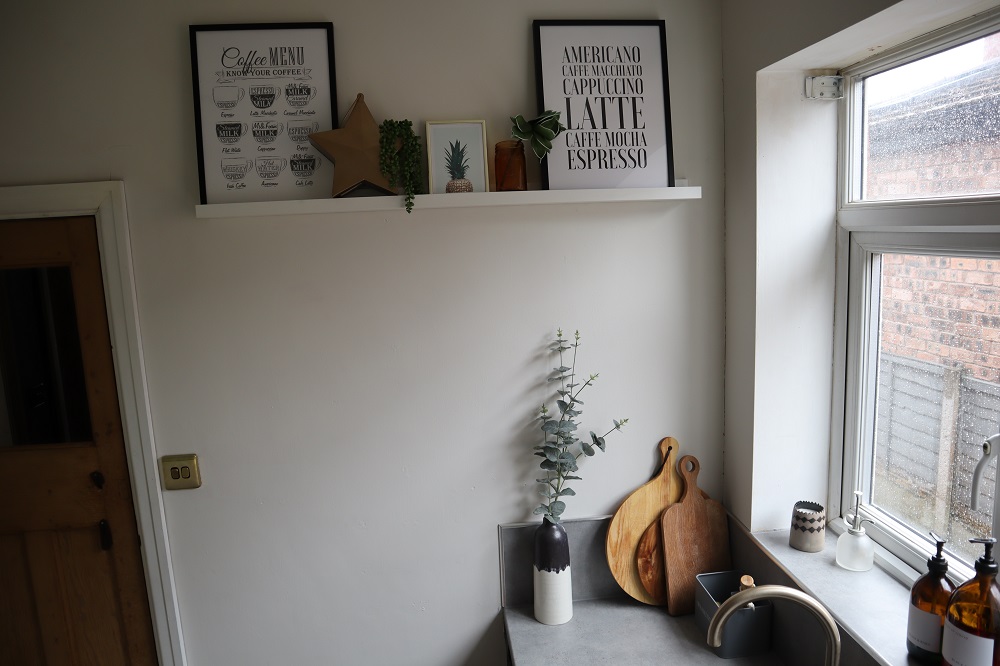
Originally we had a wall cabinet where these shelves are, but removed it ages ago as it felt too enclosed as this is the narrowest part of the kitchen. Open shelving is so much nicer than lots of wall cupboards. The rustic shelves are from a local small business. Having some open shelving is fantastic as you can style your favourite plates, bowls, mugs and plants. The pair cost £50 including brackets.
I moved the existing wall art, plants and accessories around for a fresh look – cost nothing.
Added a cute rug or two – this one is only £12 from Dunelm:
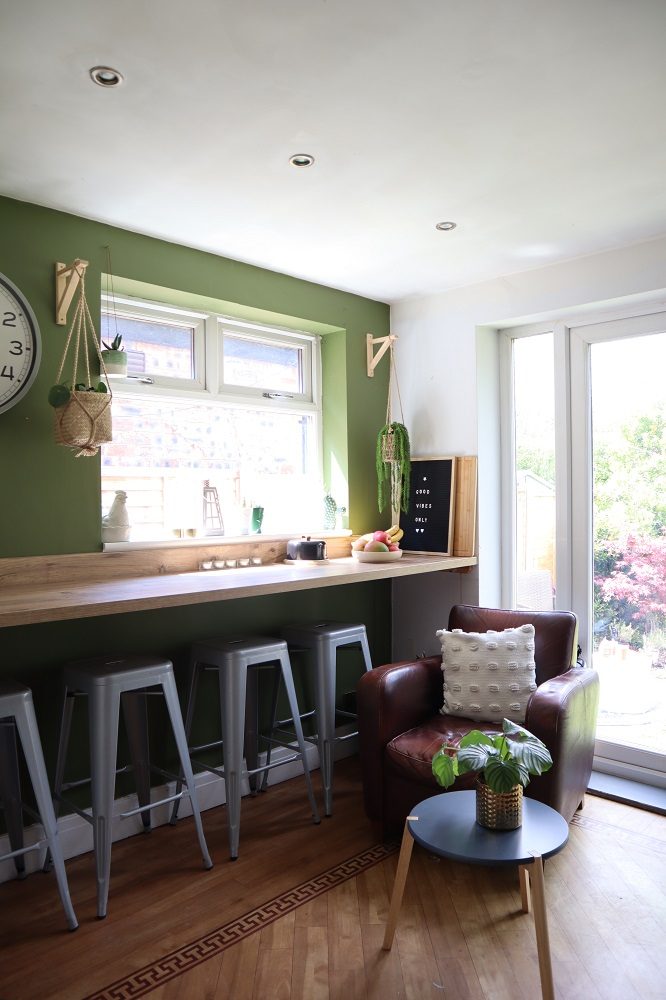
I didn’t replace the worktop in this corner of the kitchen as our breakfast bar is a more recent addition anyway. It is a wood effect bar and blends in perfectly fine/contrasts with the concrete effect without jarring. I feel this is a different section of the kitchen so can have its own identity! I still like the green wall colour (also by Valspar) so for now it will stay.
If you have any questions about our makeover, feel free to leave a comment! And you could always pin this post for later:
Leave a Reply