I’m really excited to have partnered with I Love Wallpaper again, to share the fun and creativity of installing a wall mural in your home.
I didn’t know much about wall murals at first; I guess I assumed they would be tricky to put up, or better suited to a different home. Turns out, there’s a mural for every type of home or room!
Maybe you have people coming to stay over Christmas and you’d like to brighten up the guest room for them? Now is the ideal time, especially since you can take advantage of the great Black Friday offer and snag yourself a fantastic wall mural from I Love Wallpaper with up to 50% off in the sale. In addition, you can also save an EXTRA 10% – that’s right, just use the code ‘EXTRA10‘ to save a further 10% off the sale. There’s a huge selection of wallpaper and murals included, with something for every style or space.
The other great news is that it really doesn’t take a lot of preparation or time to put up a mural. I single-handedly installed mine and it only took a couple of hours. I’m thrilled with the result, especially as I’m not an expert! (You can see my previous wallpapering project here.)
Where To Start
Think about the room that needs some impact or a design feature. Then check out the stunning and extensive range of wall murals on offer at I Love Wallpaper.
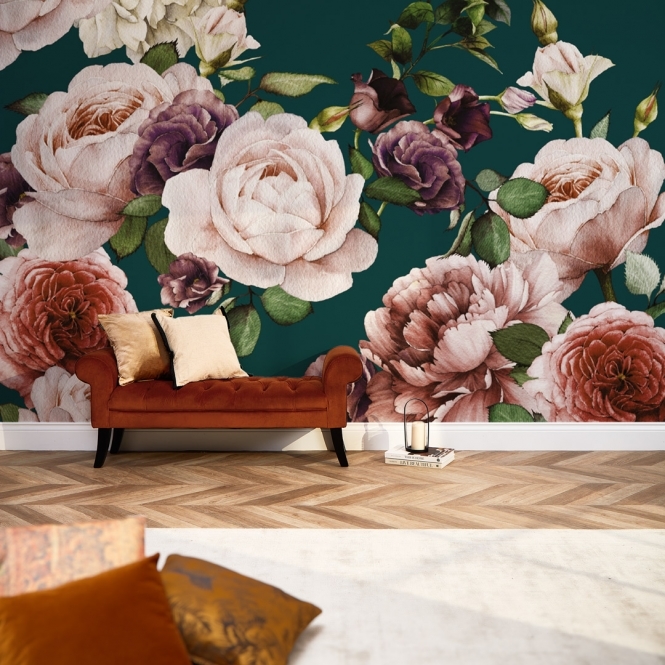
In a living room you could go for a bold burst of colour with giant flowers. These vibrant floral murals look amazing as a backdrop to a velvet sofa.
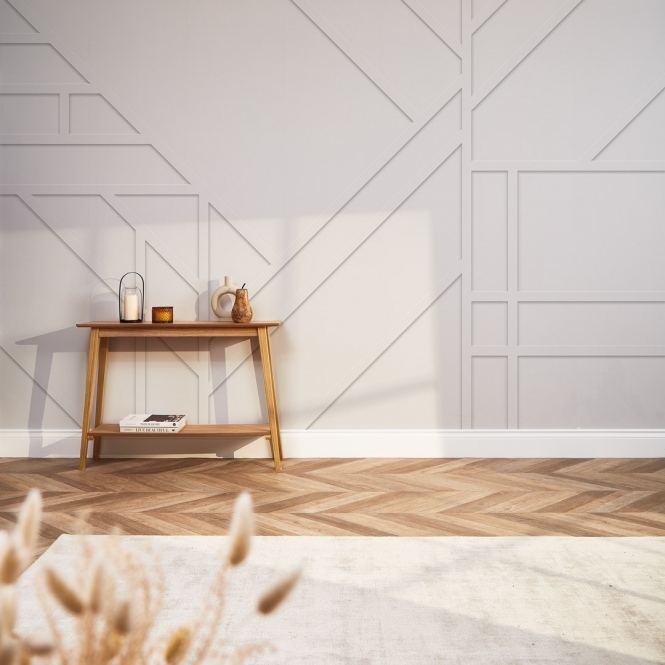
Or how about a wood panel effect? Such an ideal way to quickly jump on this mega popular interiors trend! No need to measure, cut and fit wooden beading here… With a paste the wall mural you literally cut along the dotted lines of the pre-measured panels, roller some wallpaper paste onto the wall and apply the paper.
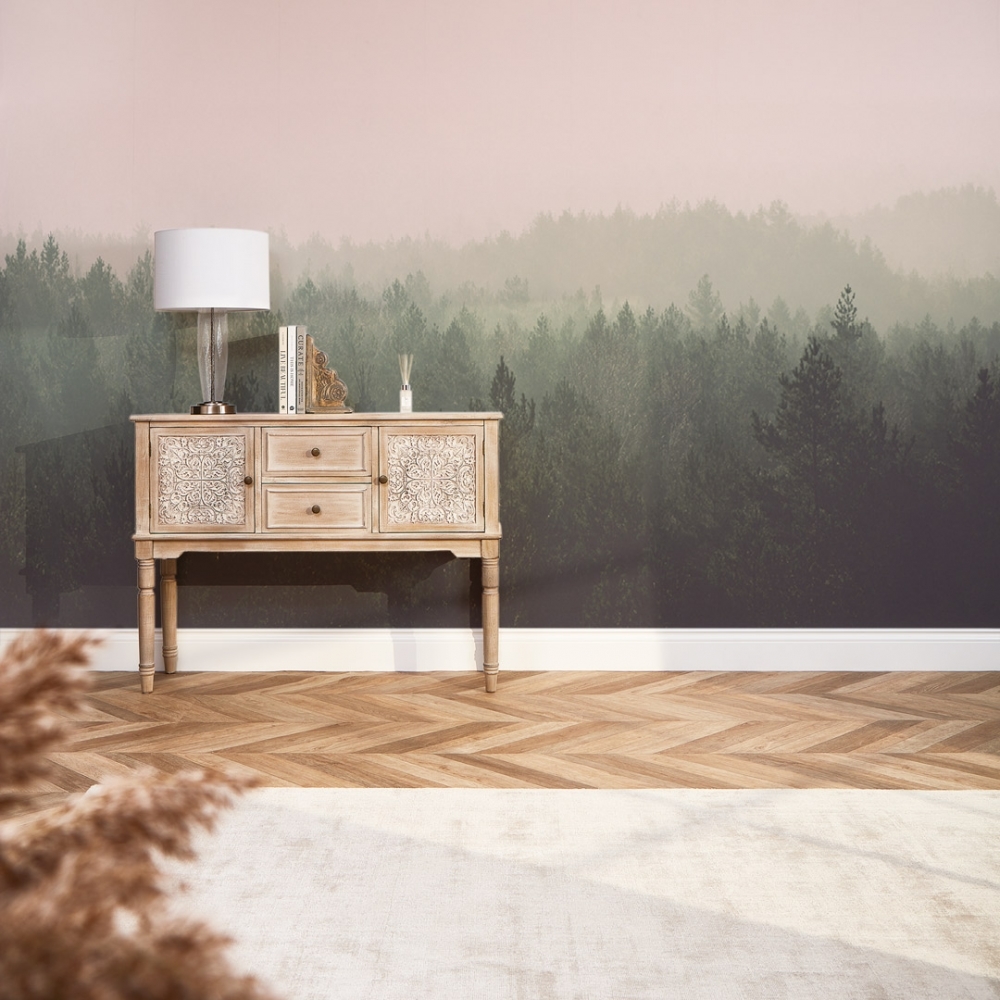
Another nice idea would be to ensure you have a stunning backdrop to your Christmas table. I personally think any of the Tree murals would be great – this Ombre Mountain Mist design in particular would be incredibly evocative, magical and Christmassy, don’t you agree?!
Wall murals are also absolutely brilliant in kids rooms and I Love Wallpaper have made sure they have catered for youngsters with a fantastic collection of designs, from Maps and Jungles to Animals and Mermaids.
About My Mural
I Love Wallpaper murals come in two sizes; there is a standard 300 x 240cm size and a larger 350 x 240cm size.
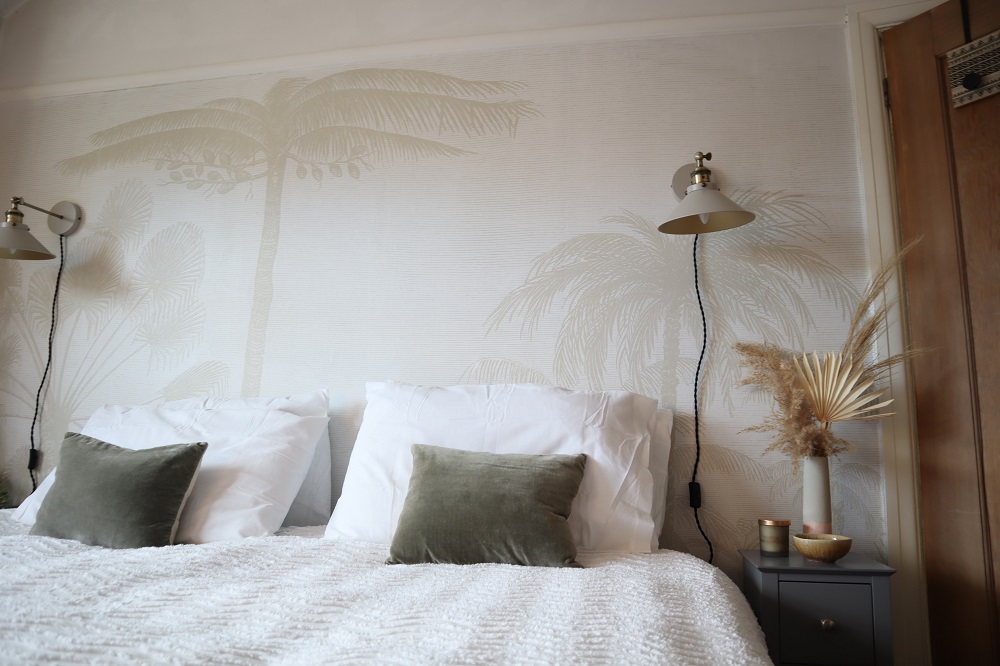
I needed the smaller one to fit my bedroom wall. The paper roll has a width of 50cm and there was just a little trimming needed at the bottom and on one side to make it fit perfectly.
As mentioned earlier, the murals comes on a roll and have a cutting guide line at intervals so you can cut into panels to hang in the correct order. I started at the left side of the wall as you face it, as that’s the part you will see first on entering the room.
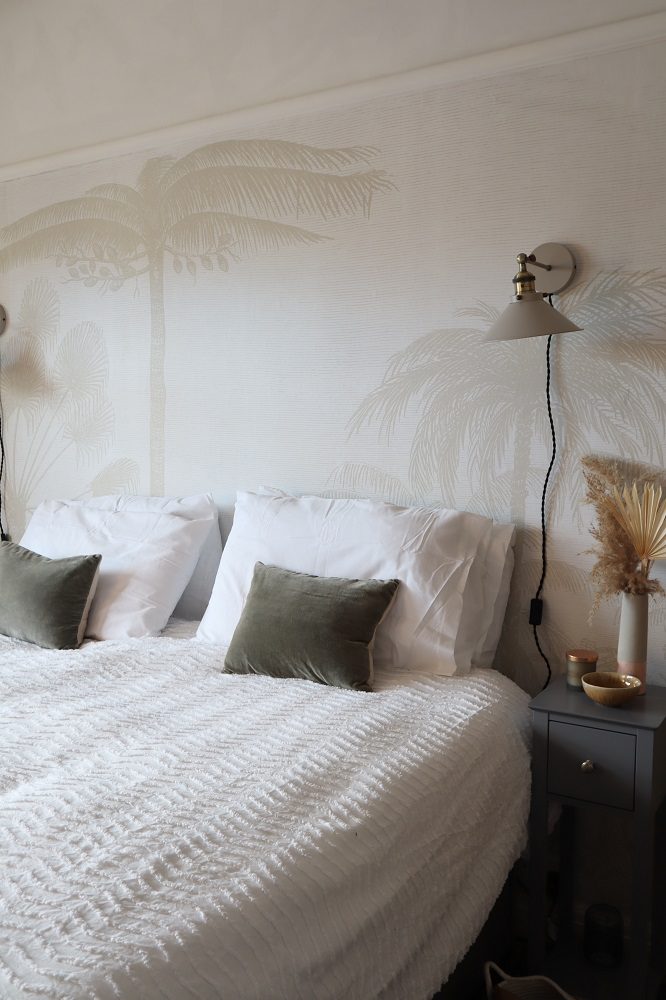
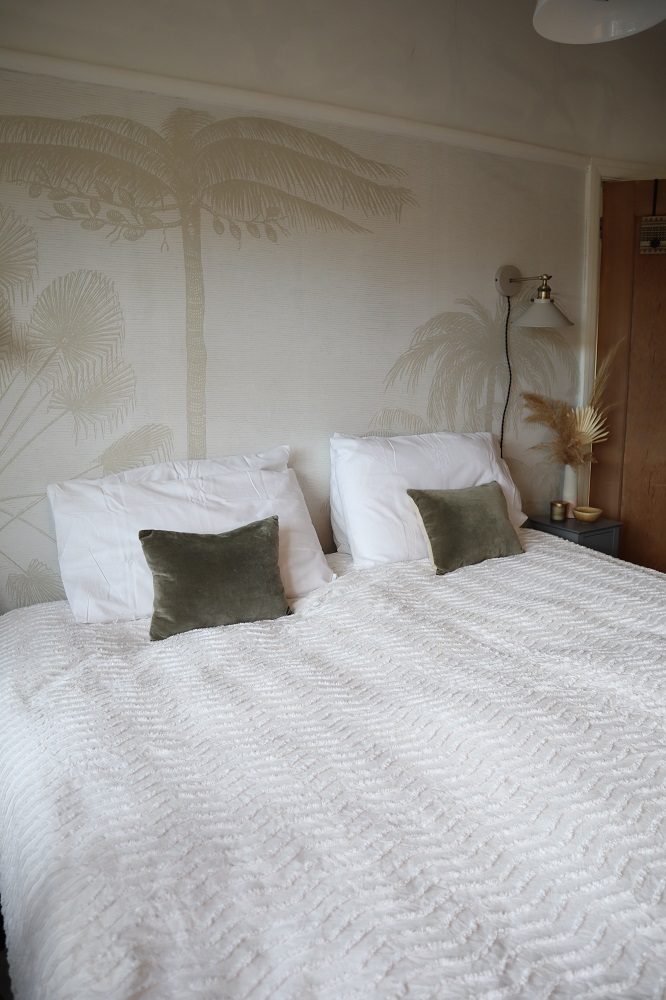
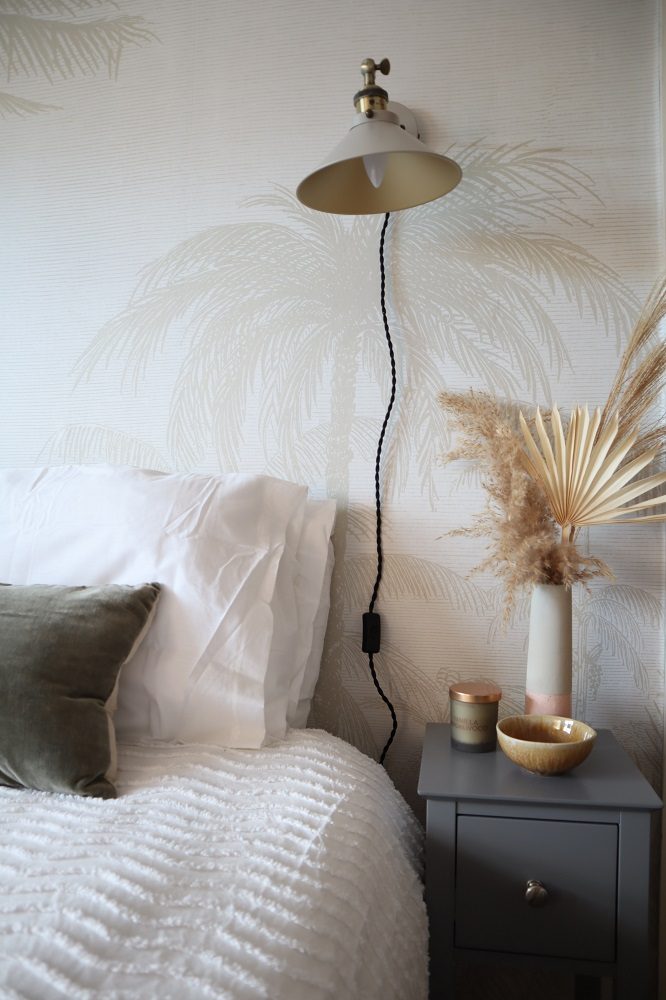
As the main bedroom has been looking a bit drab recently, I wanted to remove our bulky, grey fabric headboard and instead have a beautiful design behind the bed to create a nice focal wall and add some much needed style to the space! I chose the Etched Palms design in Natural (there is also blush, grey and blue). In the Black Friday sale there is currently a massive 50% off so you can grab my mural for just £50 right now! What a fantastic saving.
I love the grand scale of the palm tree based murals and the natural colour looks particularly dreamy to me, perfect for a relaxing bedroom.
How To Install
My preparation was similar as last time when I wallpapered in my conservatory. Make sure the wall is clean and smooth. Fill in any holes with a suitable filler. Don’t paper over existing wallpaper and make sure there are no strong wall colours going underneath the paper, which might effect the finished result.
I chose to cut each panel and apply it to a section of the wall one at a time. In other words, I didn’t cut them all in one go and then wonder which piece followed which. I also only pasted the part of the wall I was working on, rather than doing the whole wall and then having to work more quickly before it dried.
If you have plug sockets or light switches, you just trim and fold edges behind the switchplates, as you would with normal wallpaper. Use a brush to smooth from the centre outwards and roller the seams. That’s it! Soon you’ll have a feature wall to be proud of.
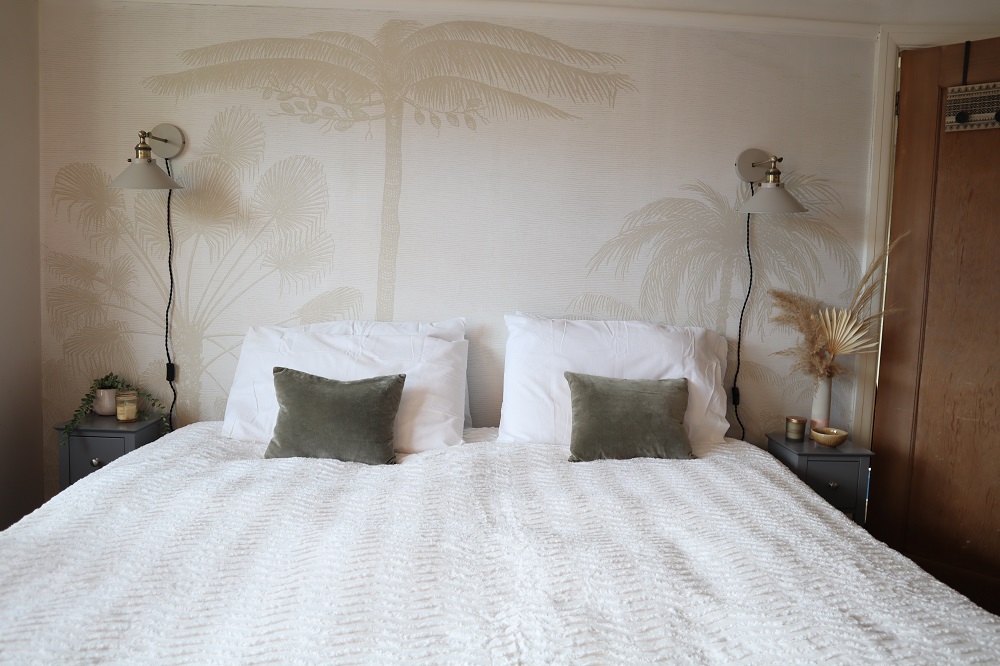
Thanks to I Love Wallpaper for the opportunity to feature this gorgeous design. I hope you like it and if you have any questions, or fancy giving a wall mural a try, let me know in the comments!
© Copyright 2021 Antonia, All rights Reserved. Written For: Tidylife
Leave a Reply