Have you ever thought you’d like to add some wallpaper to your home, but aren’t sure where to find a suitable design or how to install it?
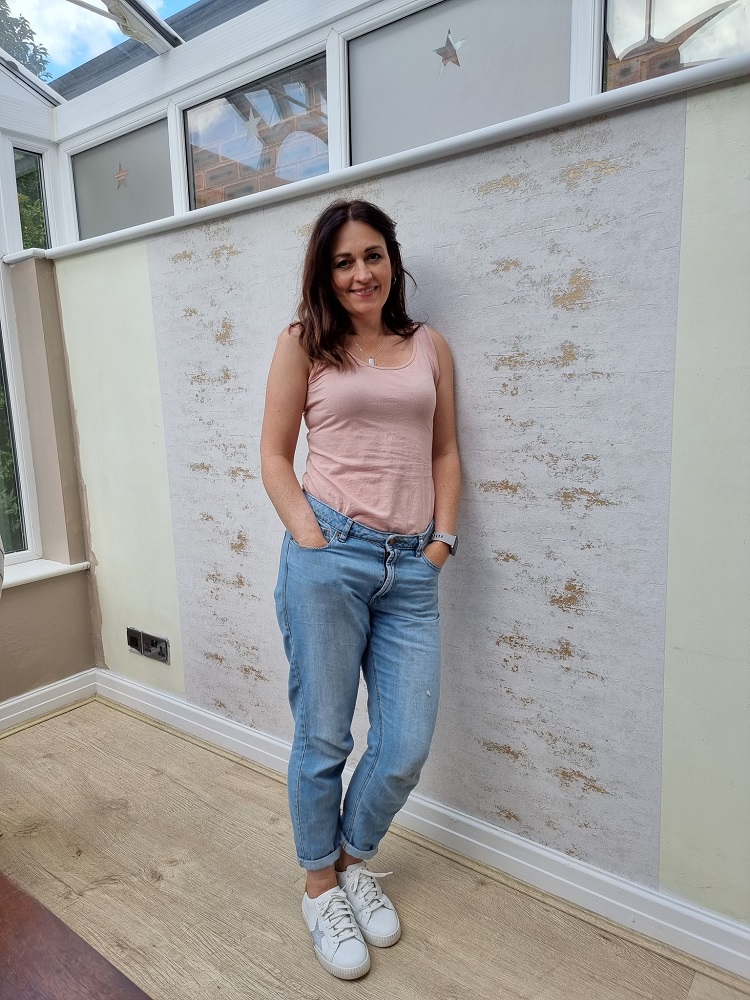
That was me until recently, when I partnered with I Love Wallpaper. Yet it proved so easy and so much fun that I’m keen to have a go again, maybe with a more ambitious project next time!
So today let me give you a run through of wallpapering a wall as a beginner.
What You’ll Need
As well as your chosen wallpaper, you will need a variety of tools and products to help you achieve a professional finish on your project. I found some of these items useful:
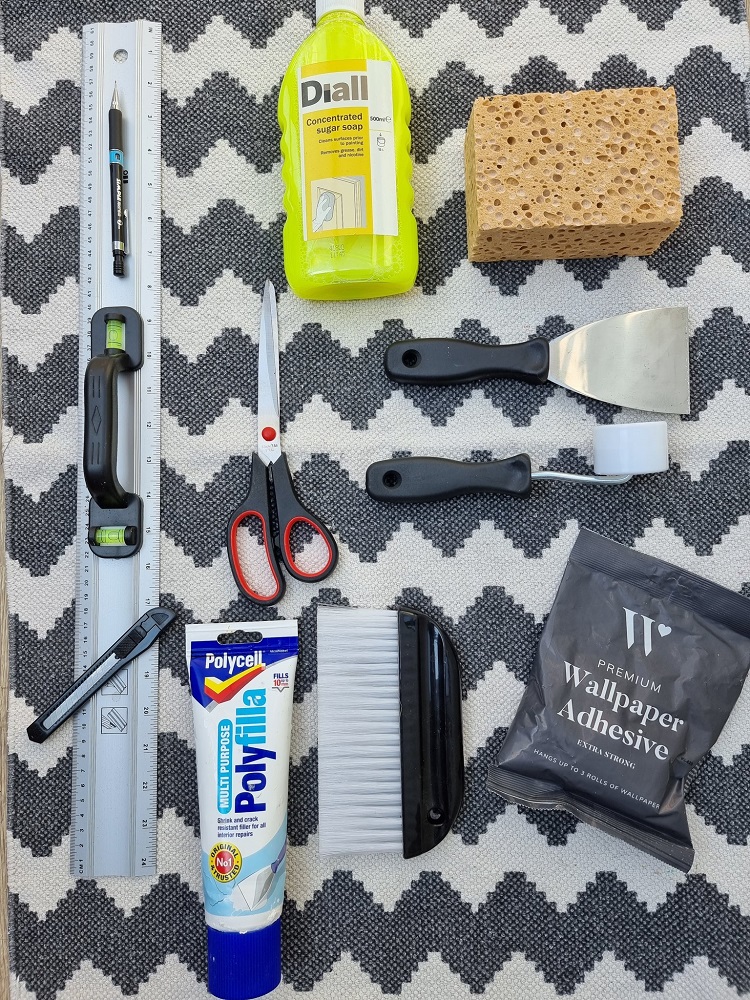
You can get all the tools & DIY kit you will need from I Love Wallpaper at the same time as you order your wallpaper.
Make It Extra Easy
By completing a feature wall first, you can build confidence before attempting a whole room or more intricate space. I also chose a fairly low wall in my home so I didn’t have to use a ladder or need a helper.
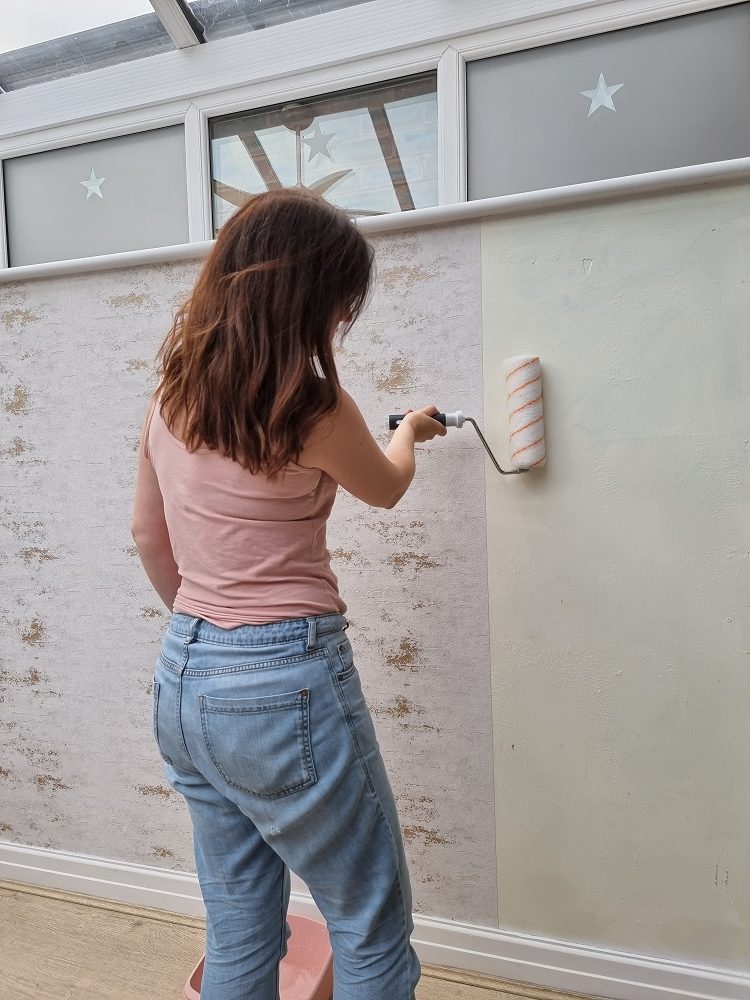
Not only that, I opted for some fantastic ‘paste the wall‘ wallpaper which means less mess and more convenience. It is much quicker to install, compared to the traditional way of pasting the wallpaper itself on a pasting table, then letting it soak, before folding it and offering the sticky, gooey paper to the wall. With paste the wall, you mix up a thick consistency of wallpaper adhesive, roller it on to the wall and then apply the dry paper without any hassle.
Maybe think about choosing a pattern that’s not too difficult to match when it comes to lining up a repeating design on each drop (more on that below).
For help with choosing your design of wallpaper, see my previous post.
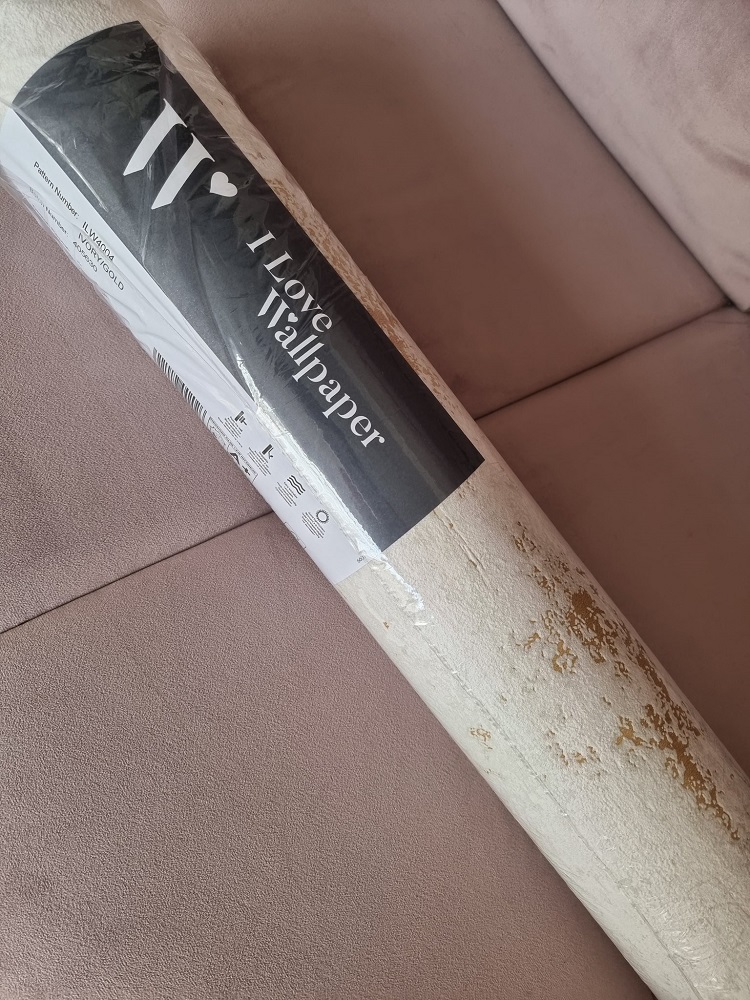
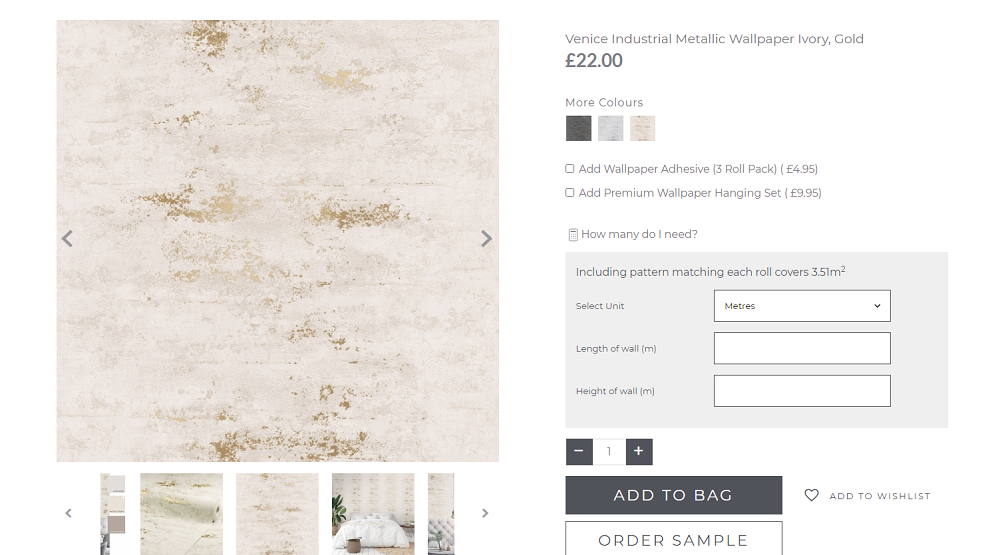
This is the paper I chose, it is the Venice Industrial Metallic Wallpaper in Ivory/Gold:
Measuring
With a steel measuring tape, measure the width and height from the skirting of your wall to work out how many rolls of paper you’ll need. (You can exclude doors and windows from the measurement because if you include those areas you’ll end up with too much wallpaper.)
Because every wallpaper design is different, the correct amount for your wall depends on the size of the repeat of the pattern. If you choose a random or no pattern wallpaper, there won’t be any pattern matching to worry about. But if your lengths of wallpaper feature a design that needs to match up, this is called the pattern or design repeat and it is the distance before the identical part of the pattern repeats itself. A large repeat naturally results in more waste.
Wall Preparation
Before papering, you need to prep the wall. You don’t want to paper over existing wallpaper, however damaged or old walls may benefit from having a lining paper installed first. A clean, smooth, dust free surface will ensure the wallpaper adheres properly. So scrape any old wallpaper off, remove any lumps and bumps, fill any holes etc.
Installation
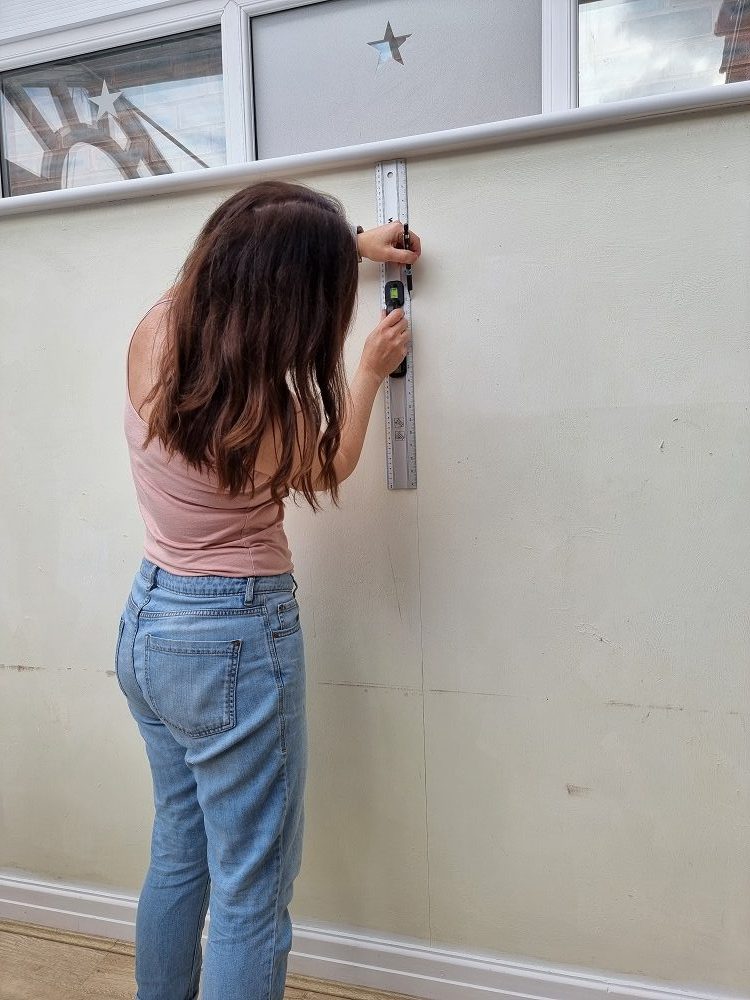
Measure and find the centre of your wall. This is where you will need to draw a ‘plumb line’ – a straight line that will act as a guide for the edge of your first piece of wallpaper. It may be tempting to start in a corner, but you need to work from the centre of the wall outwards. This means that any trimmed to size strips of wallpaper will be positioned at the outer edges, making them less obvious than if they were in the centre.
I used my large metal ruler which includes a spirit level so you can check your line is straight.
Mix up your wallpaper adhesive following the instructions on the reverse of the packet.
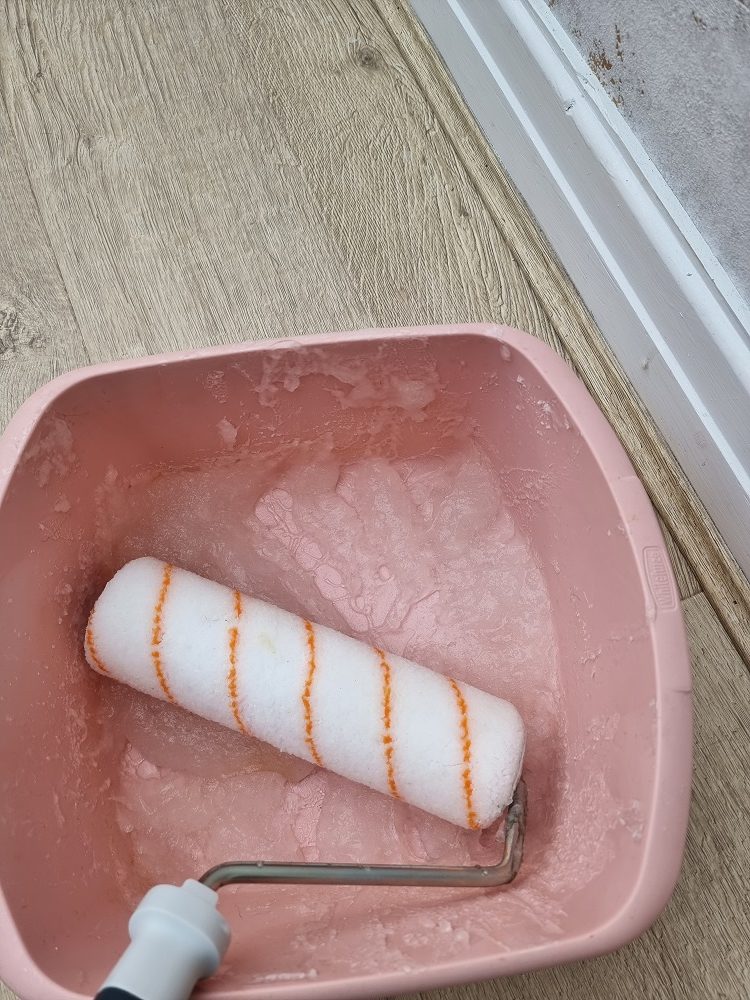
Trim your lengths of wallpaper adding an extra 15cm at the bottom. Paste the wall with your roller, then you can offer up the first drop, lining it up with the plumb line. If you go wrong you can carefully peel off and reposition. Keep going with subsequent drops, matching up the pattern and trimming as necessary.
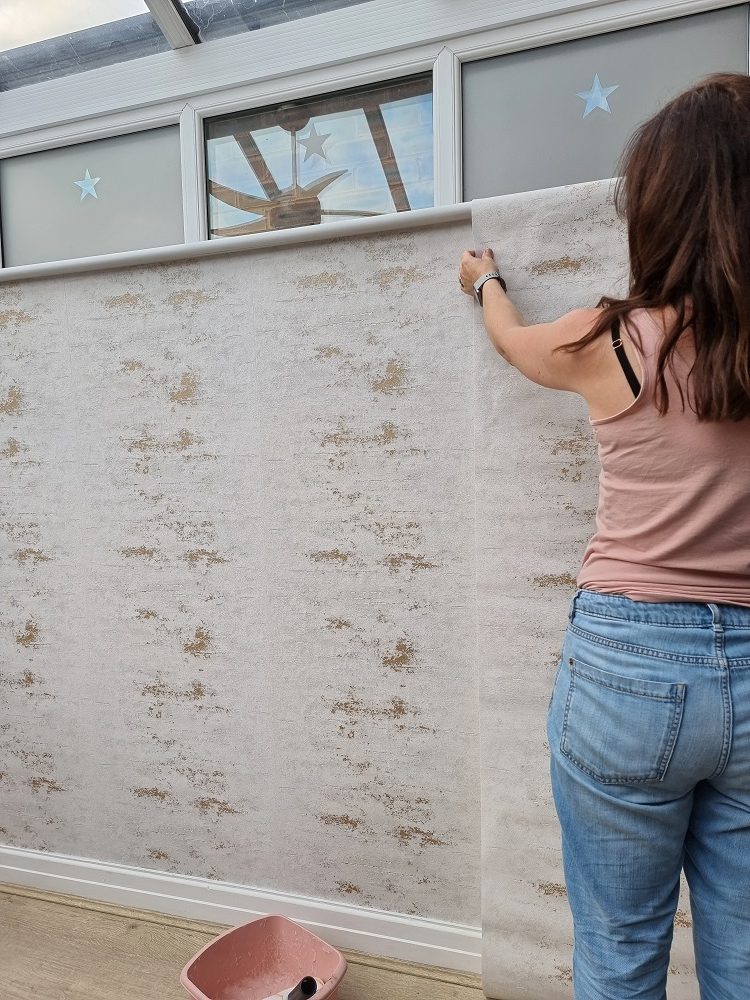
When you are happy with each piece, use a pasting brush to smooth out the wallpaper, working from the middle of the drop to the edges.
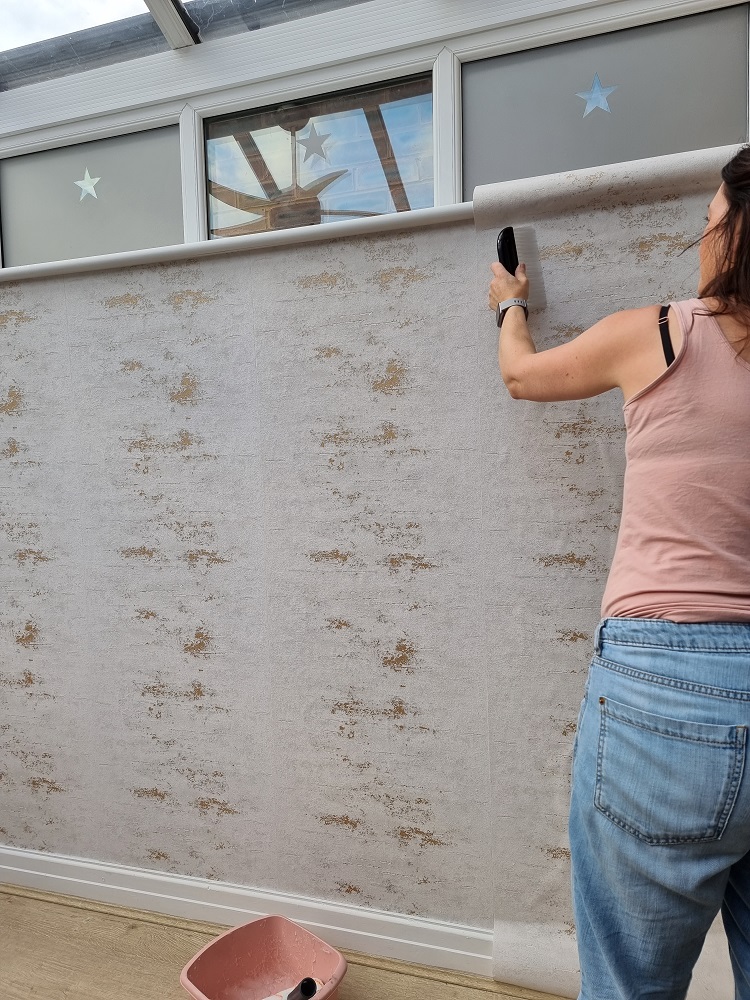
Trim the top and bottom with your ruler and a craft knife. As you add your other drops, you can use a small seam roller to gently press down the joins for a professional finish.

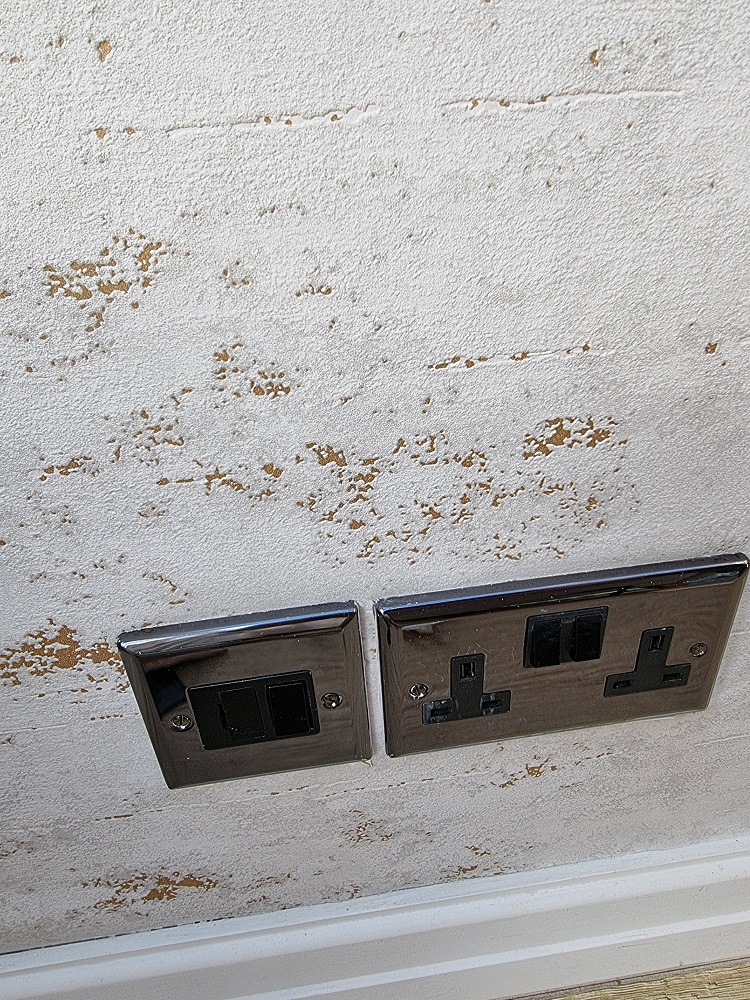
You may have to trim around a doorway or, as in my case, some plug sockets and switches. Let the paper drop over them, feel for and mark the corners with a pencil, then you can trim excess with scissors and finish neatly around a door frame with careful use of a craft knife, for example. For my sockets, I cut an X-shape in the excess paper, trimmed it and carefully tucked the edges behind the switchplates. This entailed turning off the power, unscrewing the plates slightly, feeding the edges of the paper behind the plates and securing them again with a screwdriver.
That’s it! What do you think of the finished result? Here’s a before and after…
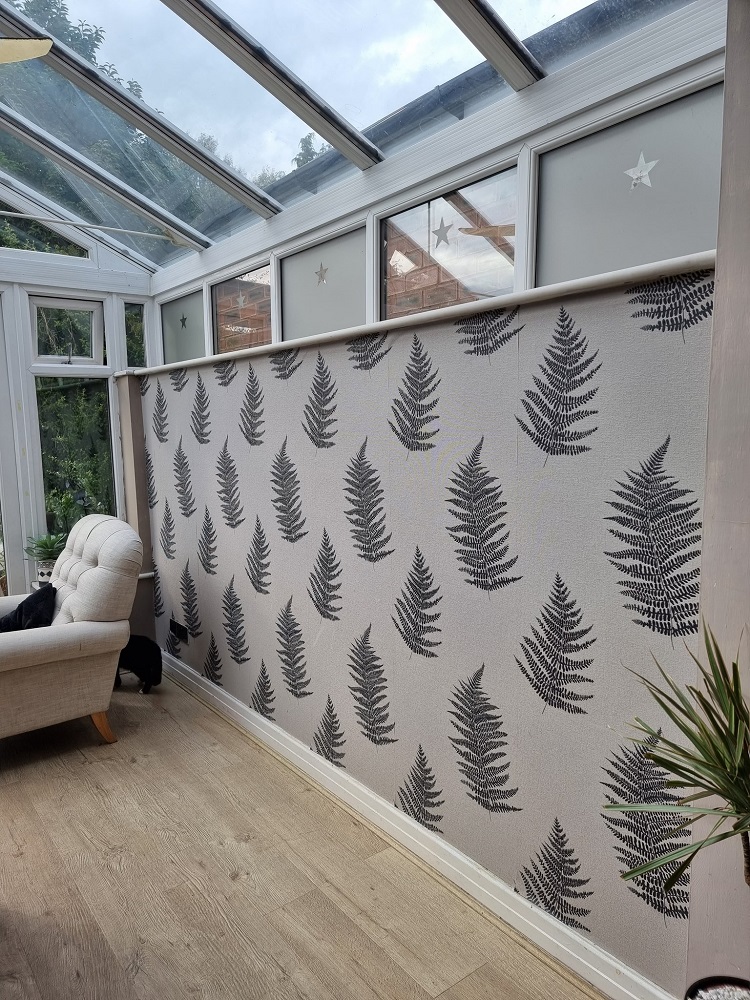
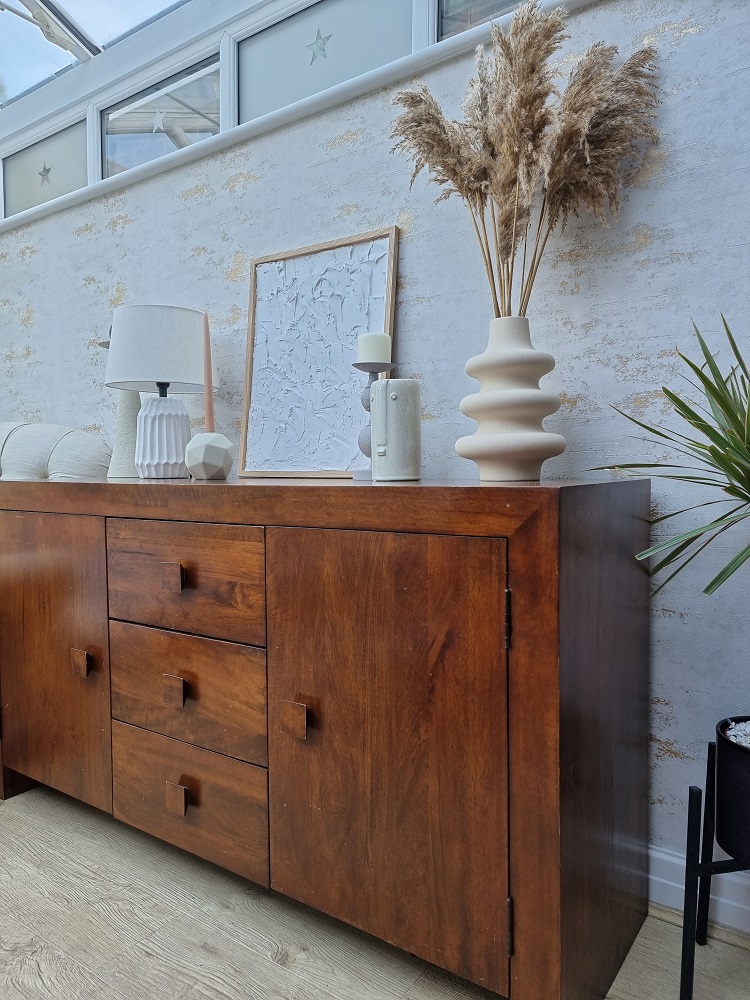
Do you feel ready to tackle your own wallpapering project? You may get the bug just like me and start thinking about tackling some more projects – these could be fun and quirky ones, such as adding wallpaper to the bathroom, or even a set of drawer fronts or inside a closet. The only limit is your imagination! Happy wallpapering.
Collaborative post
© Copyright 2021 Antonia, All rights Reserved. Written For: Tidylife

Leave a Reply