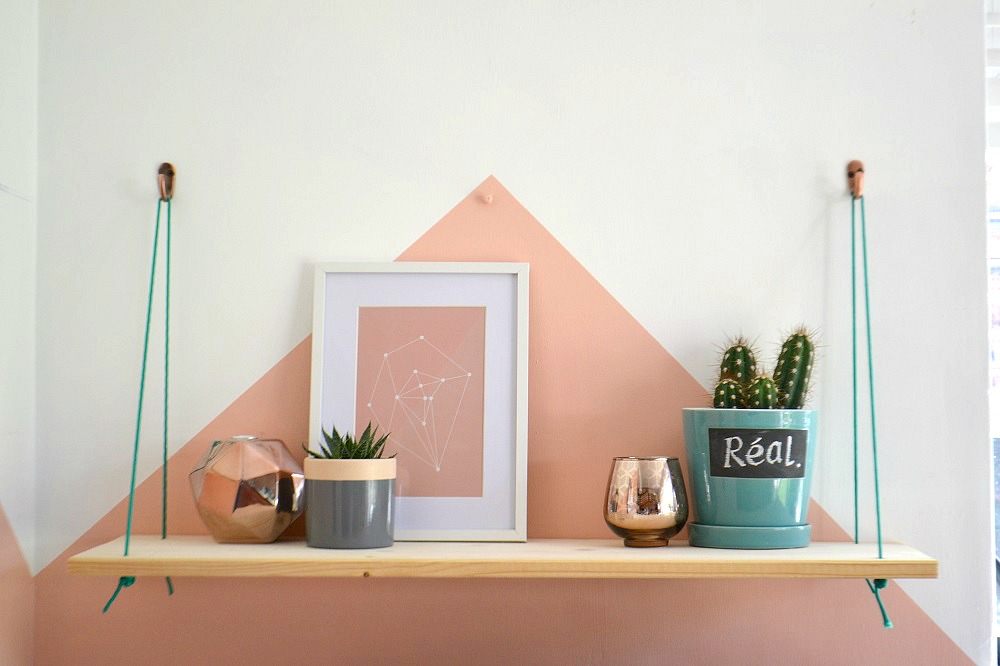
 This project is so easy it’s a great beginner level project!
Hanging shelves are hot on Pinterest, looking all Scandinavian and cool with blonde wood and nude leather straps or jute rope for hanging. I fancied having one at home but wanted to bring in a pop of colour, so I opted to use this synthetic rope in Emerald green to hang the shelf.
A little shopping spree at Homebase got me everything I needed under the one roof and the materials were a bargain at around £16. What pushed the cost up a bit was the potted plants I also bought, but still it was all less than £30.
These are the materials you will need:
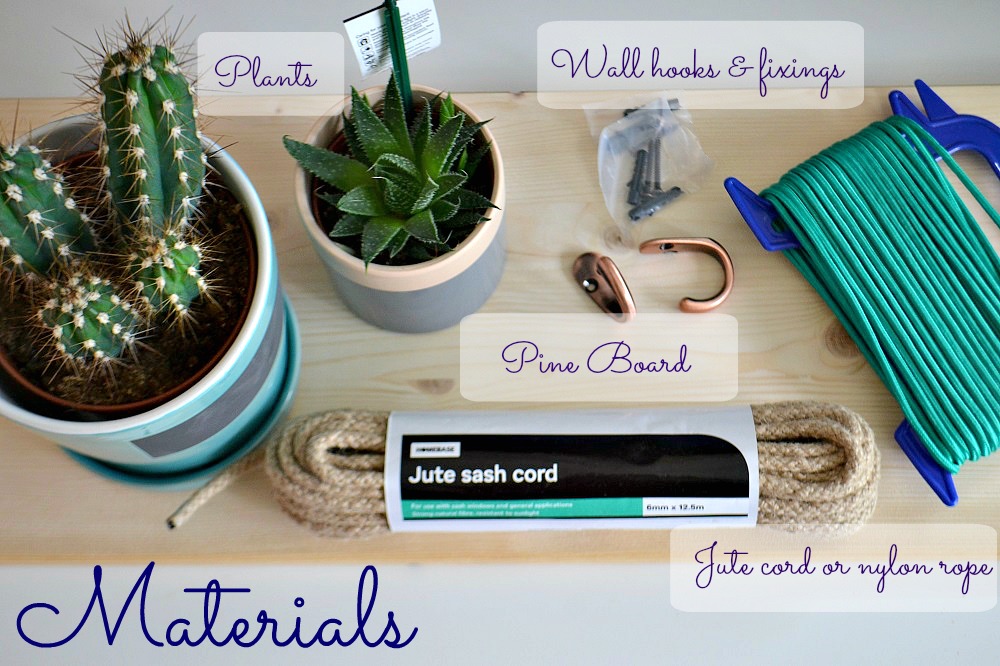
Equipment wise, you’ll just need:
- A drill
- A spirit level
- A screwdriver
- A pencil
- A ruler
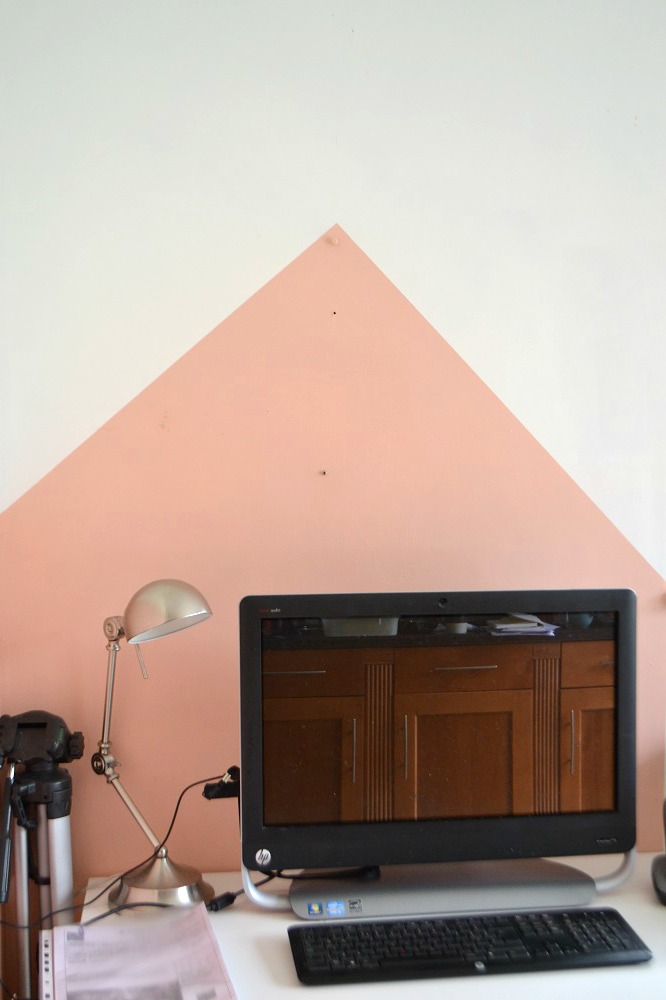
Below is the view of the wall when I’m working on my PC, prior to putting up the shelf. I painted the geo pattern a while back and I’d had a picture hanging there for a while, but it felt a bit bare and lacking something, so it seemed like the ideal place for a shelf.
With your wooden shelf or pine board, measure and mark four equal holes on the wood (we opted for 2″ in from the short sides and 1″ from the long top and bottom length), then drill through them with a drill bit to suit the thickness of the rope you are using.
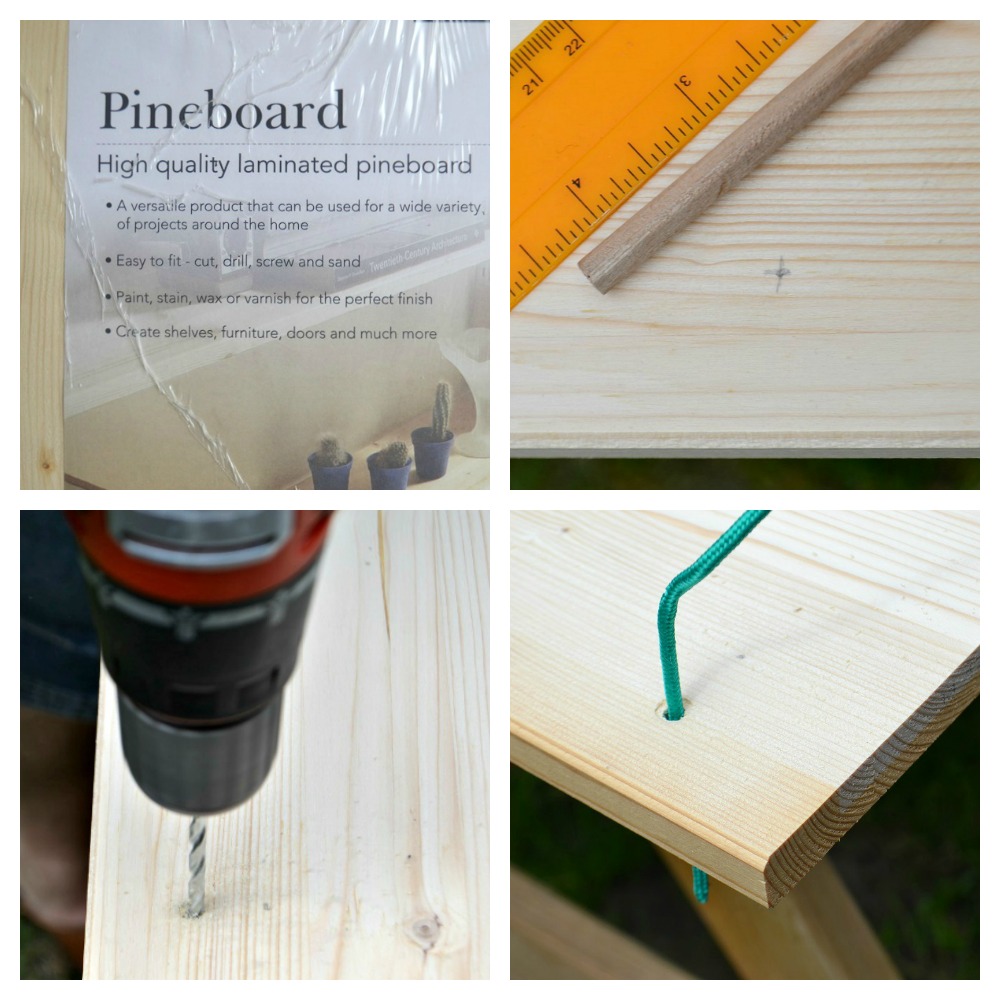
Next, thread two separate lengths of rope (cut them longer than you think you’ll need) through the two front holes and tie them off with a couple of good strong knots underneath. Offer the shelf up to the wall to work out how long you’d like the ropes to be and where the hooks will need to be on the wall. Mark the wall through the holes in the hooks with a pencil at the point you’d like them to be. Make sure they are level with each other and the right distance apart – just measure the distance between the holes on the piece of wood as your guide. Drill holes, insert rawl plugs into the holes and then screw in the hooks.
Then it’s just a case of pulling the ropes to the desired equal length, with a spirit level on top of the shelf to make sure it is level.
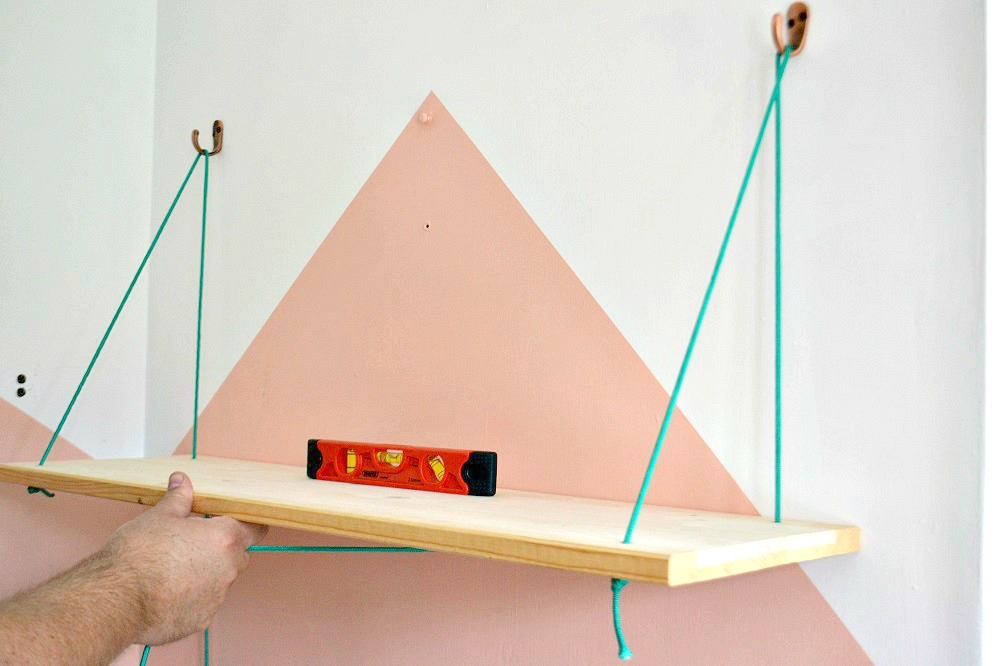
Once you are happy with the positioning, you can trim off and knot the rope beneath the two rear holes.
Then you can get styling with your plants and accessories!
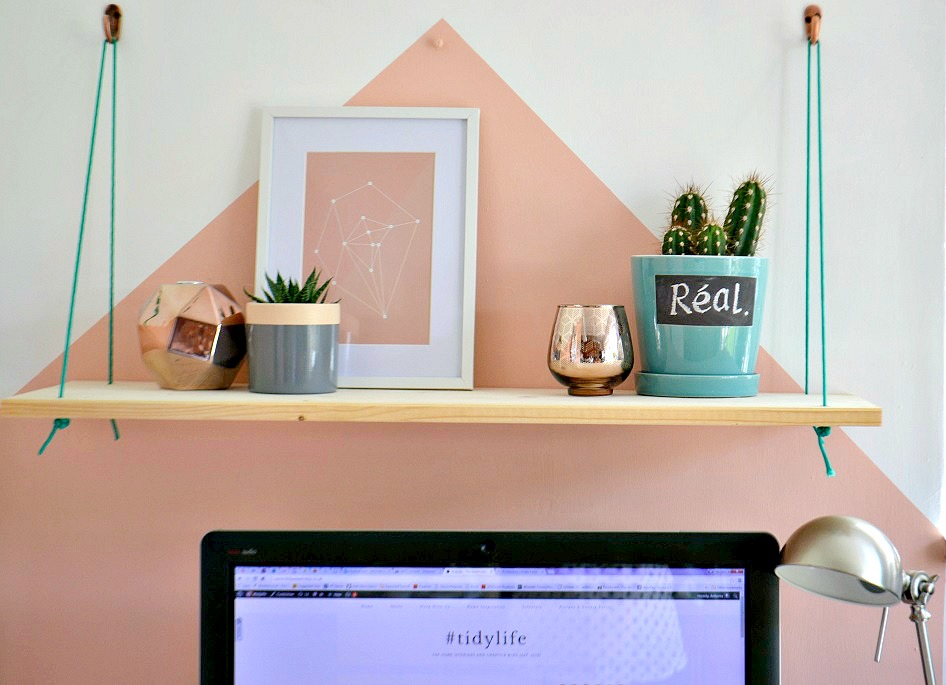
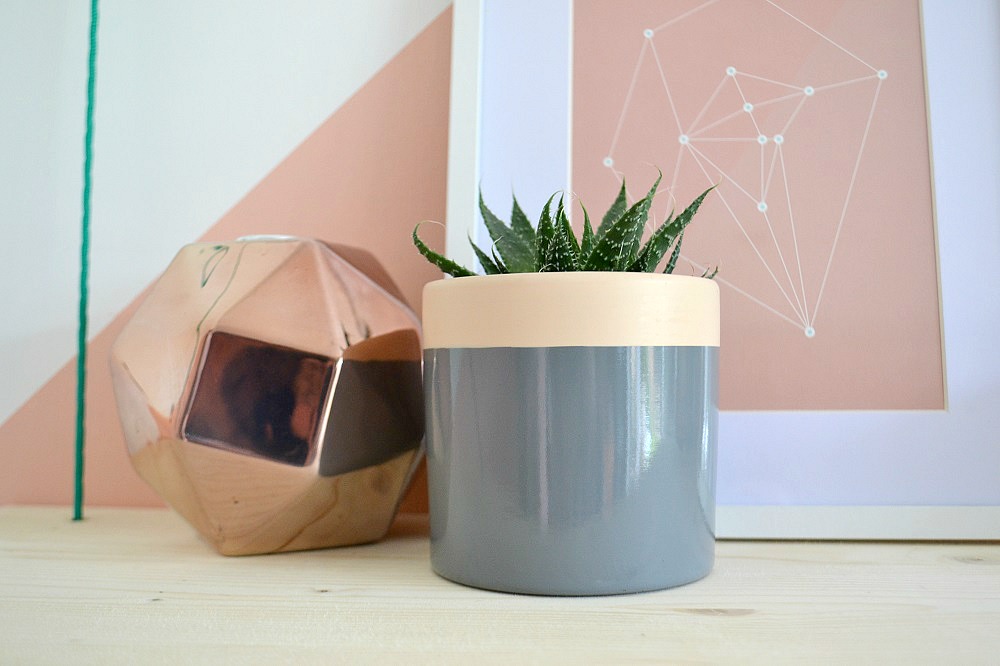
I picked up the aloe plant in the grey and nude plant pot for £4.99. The cactus was also £4.99, the teal ceramic pot with chalk label was a bargain £2.16. I already had the copper objects and the framed geo print.
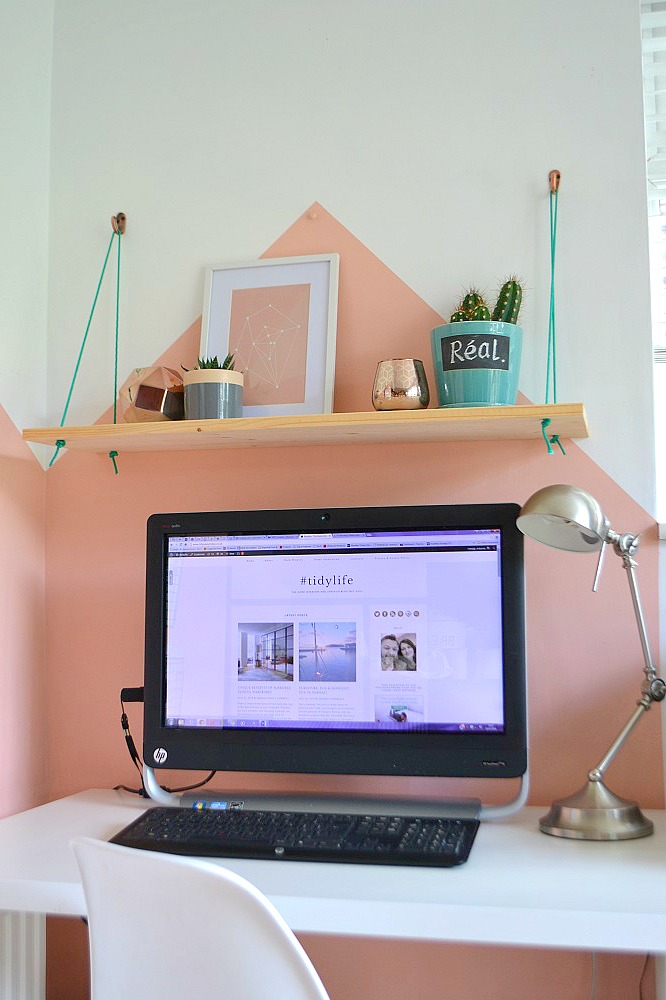
So there you have it, a nice little weekend DIY project for you to try maybe?
Collaborative post

© Copyright 2016 Antonia, All rights Reserved. Written For: Tidylife

Great job – really finishes the space over your desk nicely. I am now trying to think of where I could put such a shelf … will definitely follow your tutorial if I can come up with someplace.
Molly recently posted…CreoGlass: Kitchen Design Inspiration
Ah, thank you! I’m sure you could work one in, even a mini one somewhere? I’ve also seen some nice round ones!
This is awesome! The shelf looks really sturdy and equipped to hold even heavier items. Nicely done! Thanks for the walk through!
Thank you.